
Christmas Cards: One Design, Three Ways from Simple to Stepped-Up
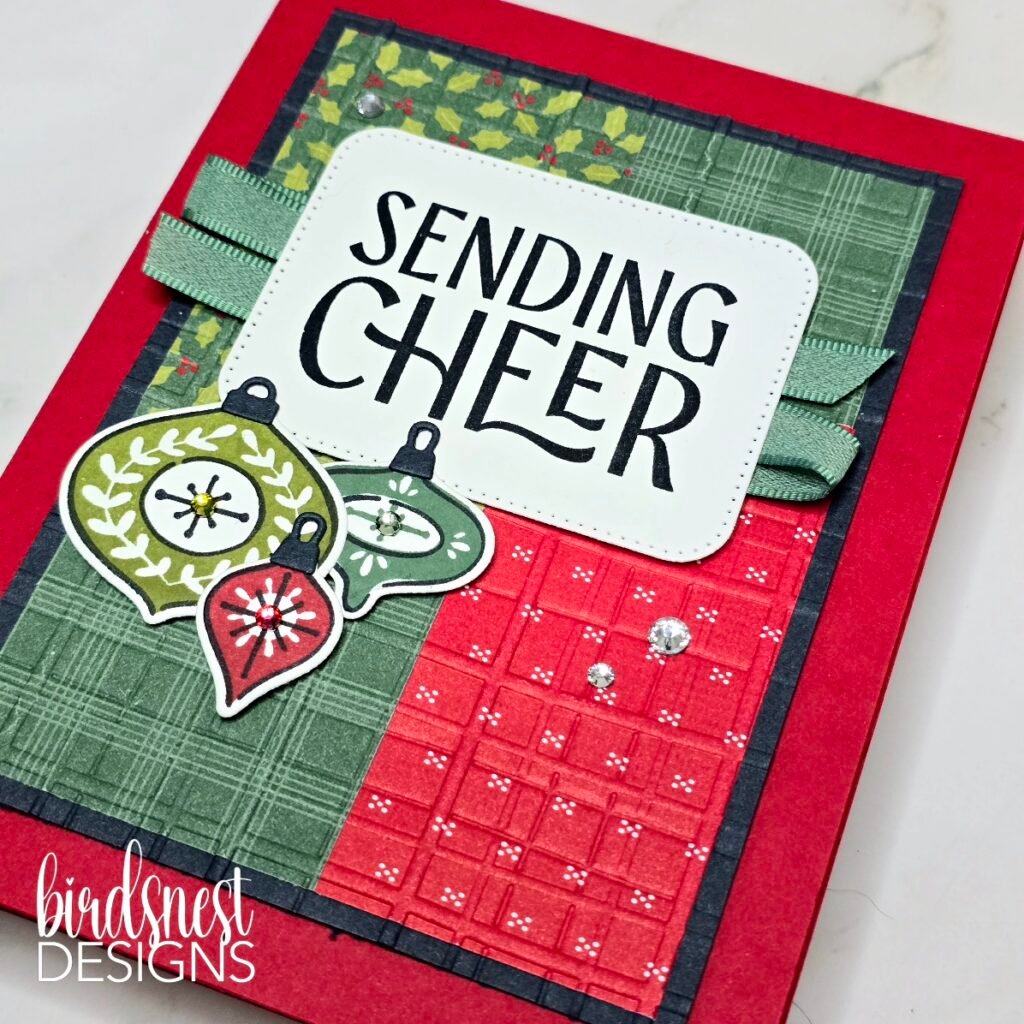
How much detail does a handmade Christmas card need? That’s entirely up to you! These simple to stepped-up Christmas cards share one layout and coordinating patterned paper, with a few extra touches added along the way.
Whether you enjoy keeping things simple or love adding layers, ribbon and sparkle, there’s a version here to inspire you. Stop at your favourite, or try all three!
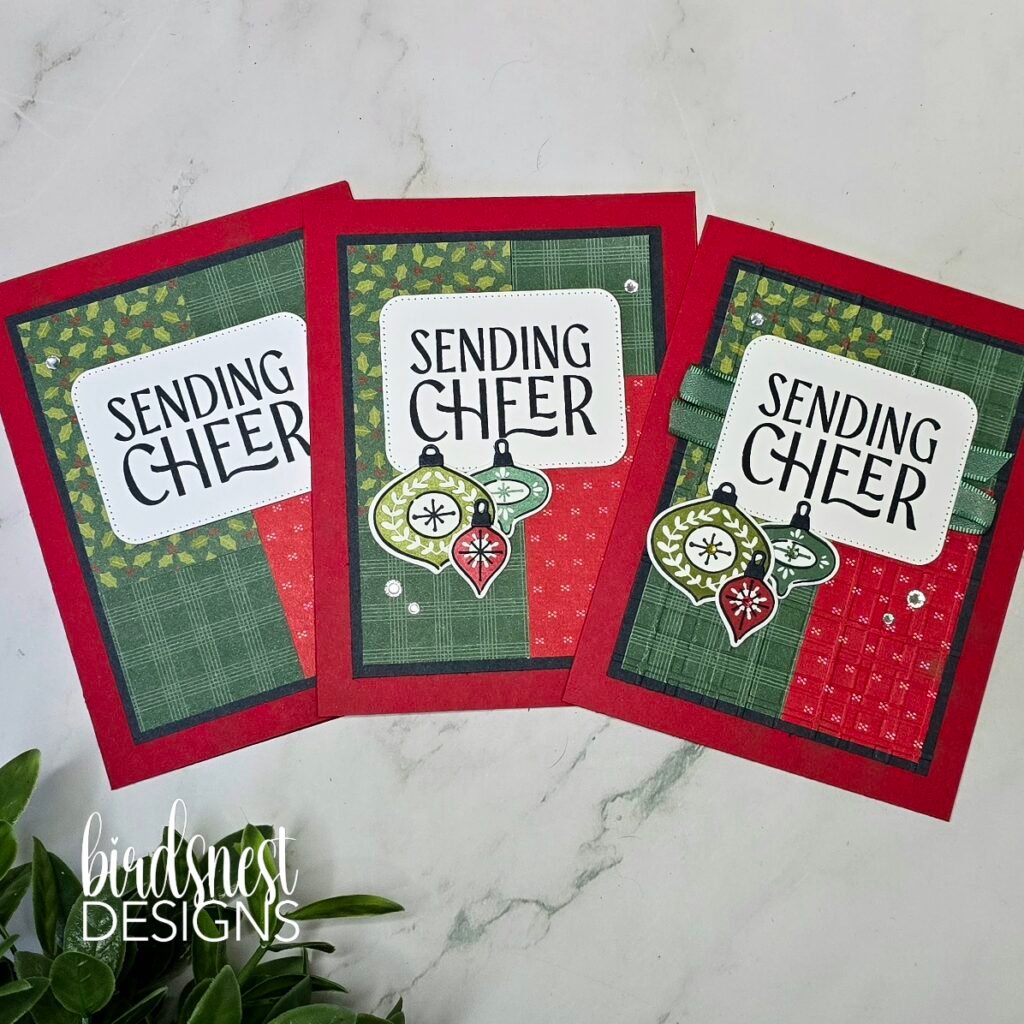
Start with a Simple Christmas Card
The first card lets the patterned paper and a bold greeting do the work. Four pieces of coordinating paper create the background, while a raised sentiment and a few rhinestones finish it off.
It’s a lovely option if you’re getting started with card making or want to make a whole stack of Christmas cards.
I used the Festive Cheer stamps and coordinating dies with A Stitched Season Designer Series Paper. Choose papers and a greeting you love, and you can give this layout a completely different look.
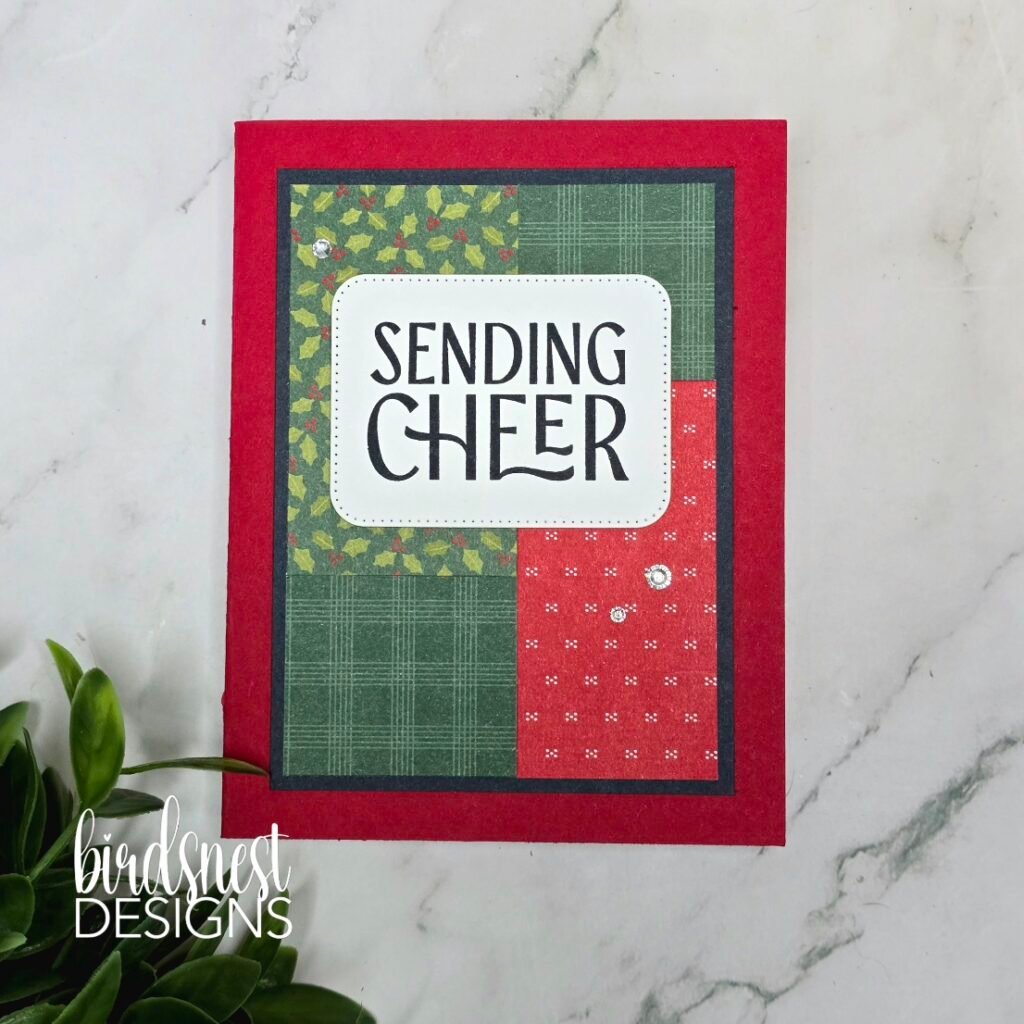
Add a Little More
For the second version, I added a cluster of three stamped ornaments beneath the greeting. Keeping the same background makes it easy to see what a difference just one addition can make!
The ornaments coordinate with the colours in the Designer Series Paper and add another layer of dimension. You could try a similar cluster with punched shapes, die cuts or ephemera from your collection.
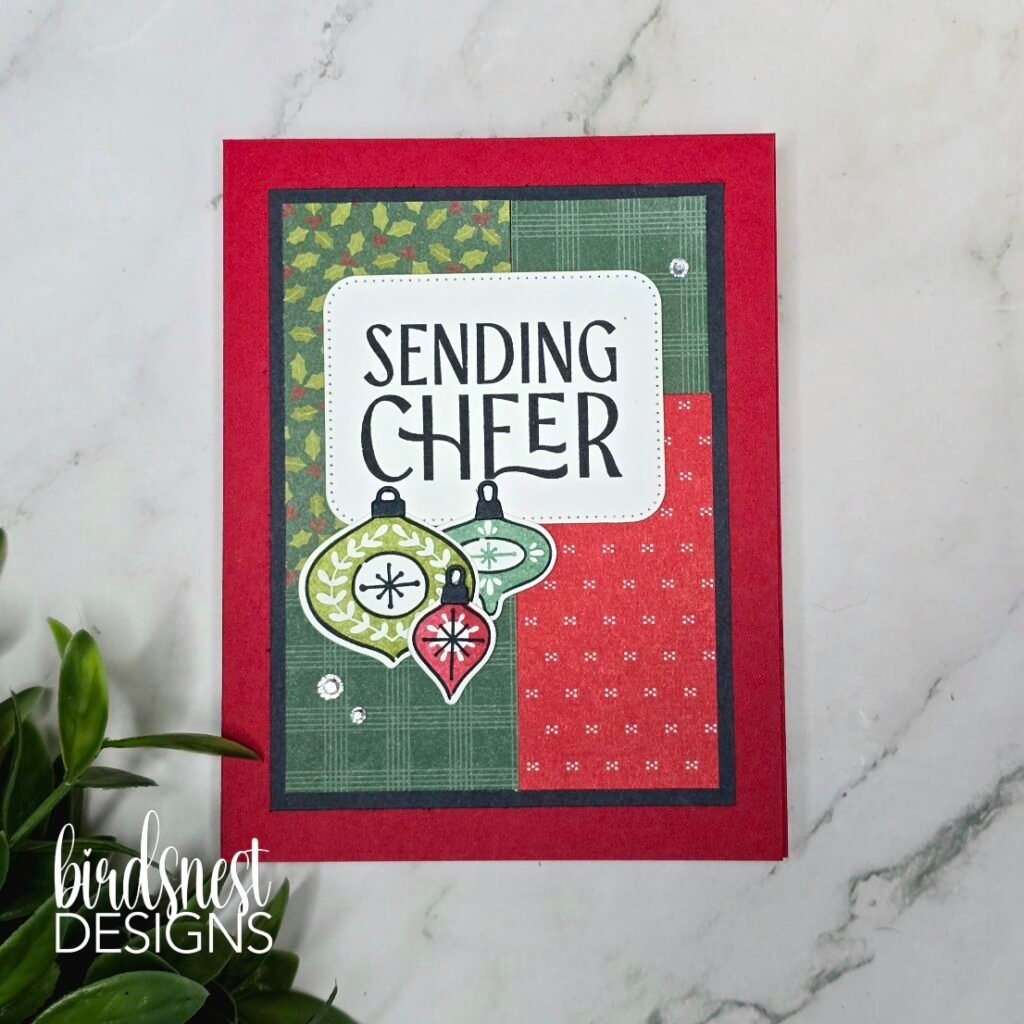
Bring on the Texture and Sparkle
For the final version, I embossed the assembled patterned-paper panel with the Forever Plaid embossing folder. I love the quilted effect it gives those coordinating patterns!
Ribbon tucked behind the greeting adds softness, and rhinestones coloured with coordinating Stampin’ Blends give each ornament a little extra sparkle.
Of course, I couldn’t leave the inside undecorated! A stamped greeting and hanging ornament carry the Christmas cheer through to the inside.
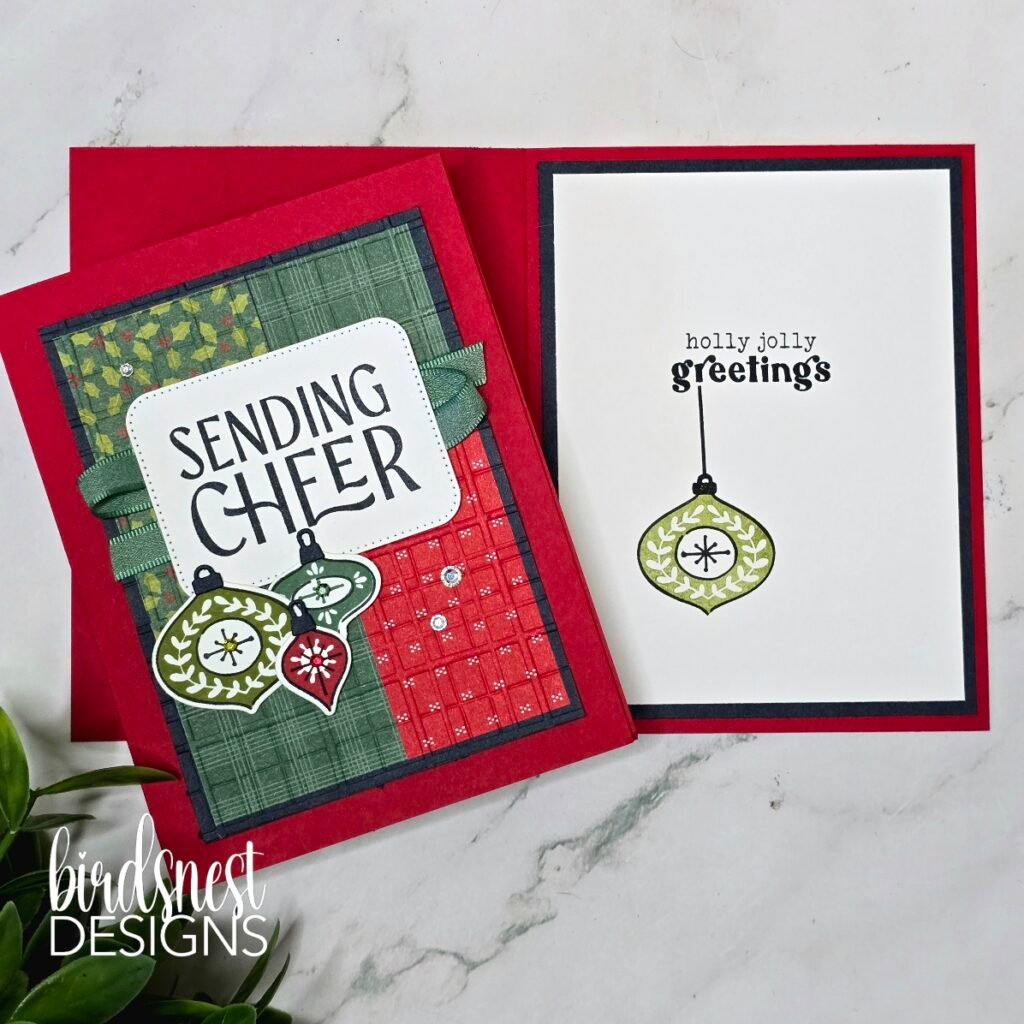
Christmas Card Measurements
All measurements are in inches. The same basic pieces are used for all three versions.
- Card base: 8½ × 5½, scored at 4¼
- Front mat: 3½ × 4¾
- Patterned paper: one piece each measuring 1¾ × 3, 1¾ × 1½, 1½ × 3 and 1½ × 1½
- Inside mat: 4 × 5¼
- White inside panel: 3¾ × 5
- Sentiment label: sized to fit your chosen greeting
- Scraps: for stamped or die-cut decorations
Arrange the patterned-paper pieces in two columns on the front mat, alternating the long and short pieces. Try the placement before gluing everything down, especially if your paper has a directional pattern.
Watch the Video Tutorial
Come craft along as I make all three versions and share little tips along the way. You’ll also see alternate samples made with retired supplies for even more inspiration.
Which version would you make: simple, a little stepped-up or all the extras? Let me know in the comments. I’d love to hear your favourite!
🩷 Denise
Join My Email List for More Creative Inspiration
Would you love a little paper-crafting inspiration in your inbox? Join my email list to receive Creative Chirp, my weekly newsletter, with practical card-making ideas, helpful tips and a friendly dose of creative encouragement.
