Yeti To Party Monday Kick-Off

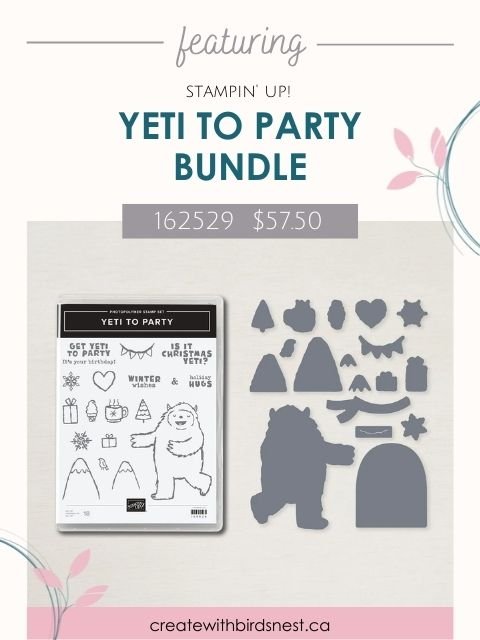
Hello Stampin’ Friends! Are you Yeti to Party? This week I will be featuring the limited time Yeti To Party Bundle here on my blog and in my Facebook Live tomorrow night. This yeti character has really stolen my heart … and having the Yeti dies really extends the possibilities to this stamp set. Let me show you!
Yeti To Party photopolymer stamp set is available until January 4, 2023 in the current Mini Catalogue BUT the coordinating Yeti dies are a special release. The Yeti dies are part of Stampin’ Up!’s Perfect Partners Promotion and available until September 30th or while supplies last. If you are like me and need to have this bundle in your collection, act quickly before they are gone! Trust me … you will be so glad that you did!
Continue scrolling through today’s post to see the full list of Stampin’ Up!® products I used, the colour combination I used on today’s project and quick instructions so you can create this card too. Purchase your Yeti To Party bundle here in my online store – orders can be placed from anywhere in Canada.
Thanks for stopping by today, wishing you a wonderful crafty week!

Let’s Make It!
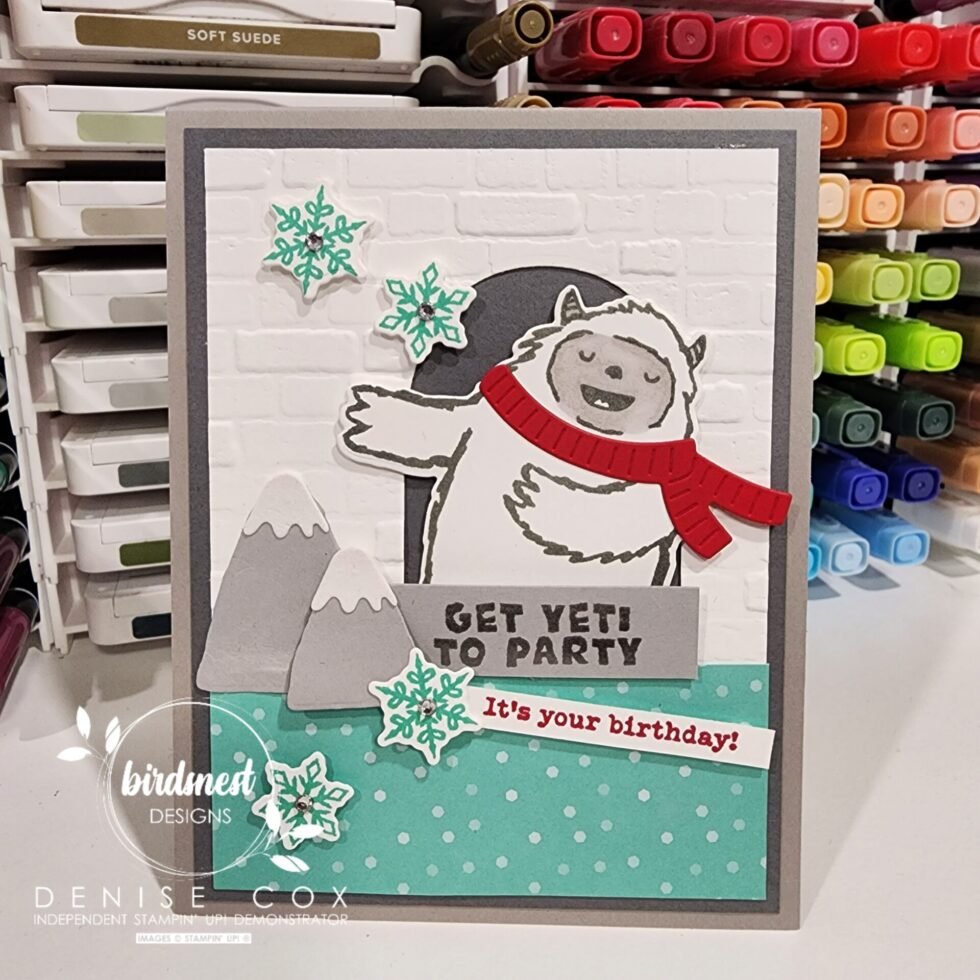
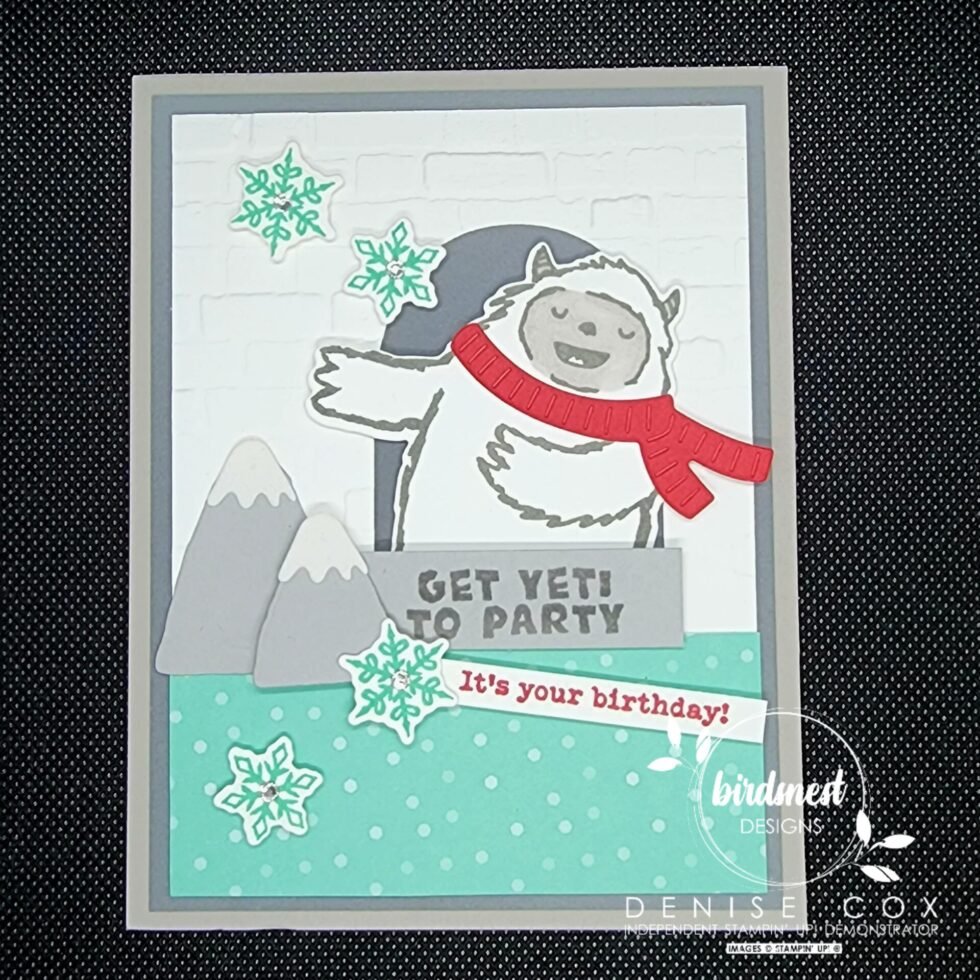
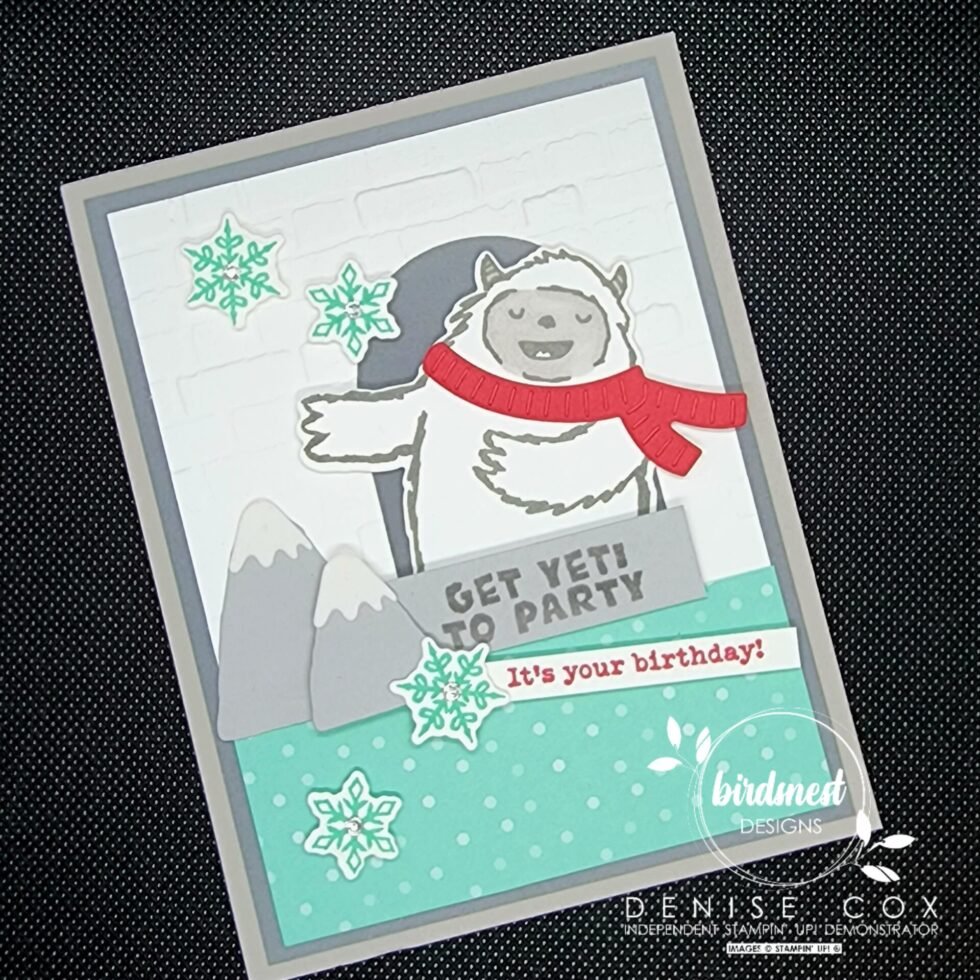
- Start with a Smoky Slate card base 11″ x 4-1/4″ then score on the long edge at 5-1/2″, fold on score line
- Cut a Basic White panel 3-3/4″ x 5″ and die cut out the “window” from the Yeti dies, then emboss with the Brick & Mortar 3D folder
- Stamp the Yeti in Basic Gray ink on Basic White cardstock, die cut and pop him through the “window” securing his feet on the back of the embossed piece, colour his face with Gray Granite light Stampin’ Blend
- Attach this to a 4″ x 5-1/4″ Basic Gray cardstock panel and add dimensionals behind the Yeti head and body
- Die cut a scarf from Real Red cardstock and attach to the Yeti
- Cut a piece of Coastal Cabana DSP to 1-3/4″ x 3-3/4″ and attach to the bottom of the embossed piece
- From Smoky Slate cardstock, die cut the two mountains and cut a small piece for the ‘Get Yeti to Party’ greeting (stamped in Basic Gray ink)
- Assemble and adhere the mountains to the left and the sentiment directly below the window using dimensionals
- The snow caps on the mountains are die cut from Snowy White Velvet Sheets
- Stamp the bottom part of the larger greeting stamp “It’s your birthday” on white cardstock with Real Red ink and adhere to the card
- Stamp four snowflakes on white cardstock with Coastal Cabana ink, die cut them and adhere to the card with stampin’ dimensionals
- Add a rhinestone to the center of each snowflake
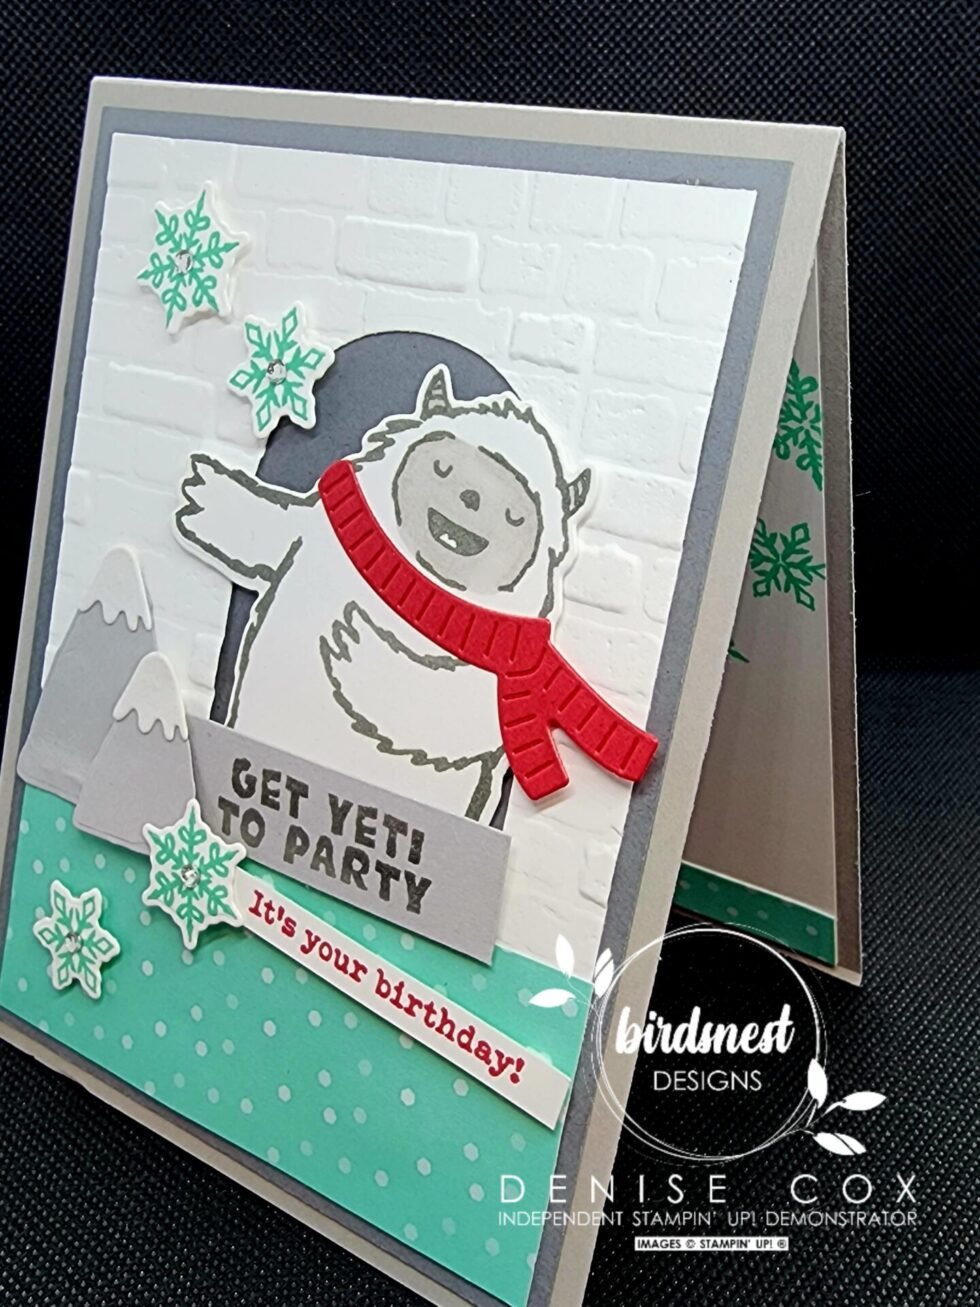
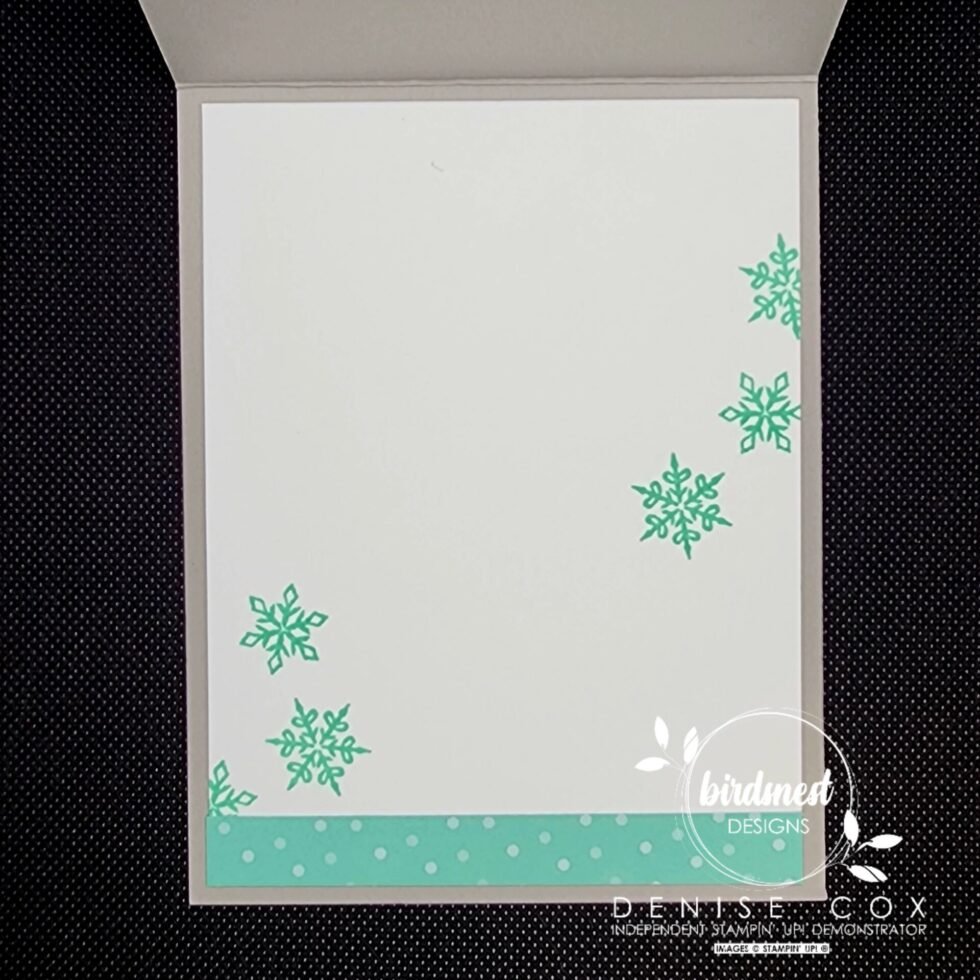
- Add some love to the inside of your card on a 4″ x 5-1/4″ piece of basic white, see what I did below
Stampin’ Up! goodies I used on today’s card
You can purchase Stampin’ Up! products from my online store from anywhere in Canada, I would love to have you shop with me! Click on any of the items below to see it in my online store ? If you have any questions about ordering or need a little help to place your order please contact me … I am happy to help!
")


 Velvet Sheets")

 Designer Series Paper")


