Sending Winter Wishes with Yeti To Party

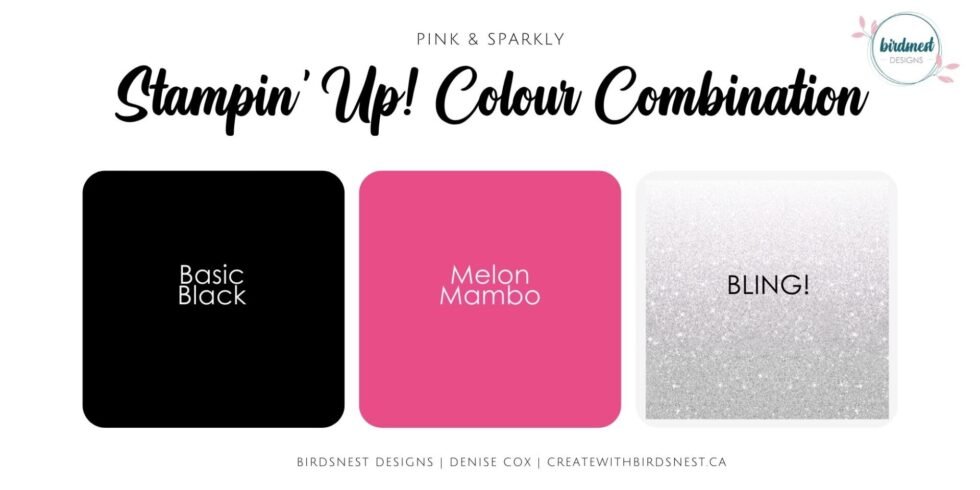
Hello friends and welcome! Today I am sharing the final card using the product of the week – Yeti To Party bundle. And this one friends has a bunch of my favourite things … Pink, Coffee and Bling ❤?!!
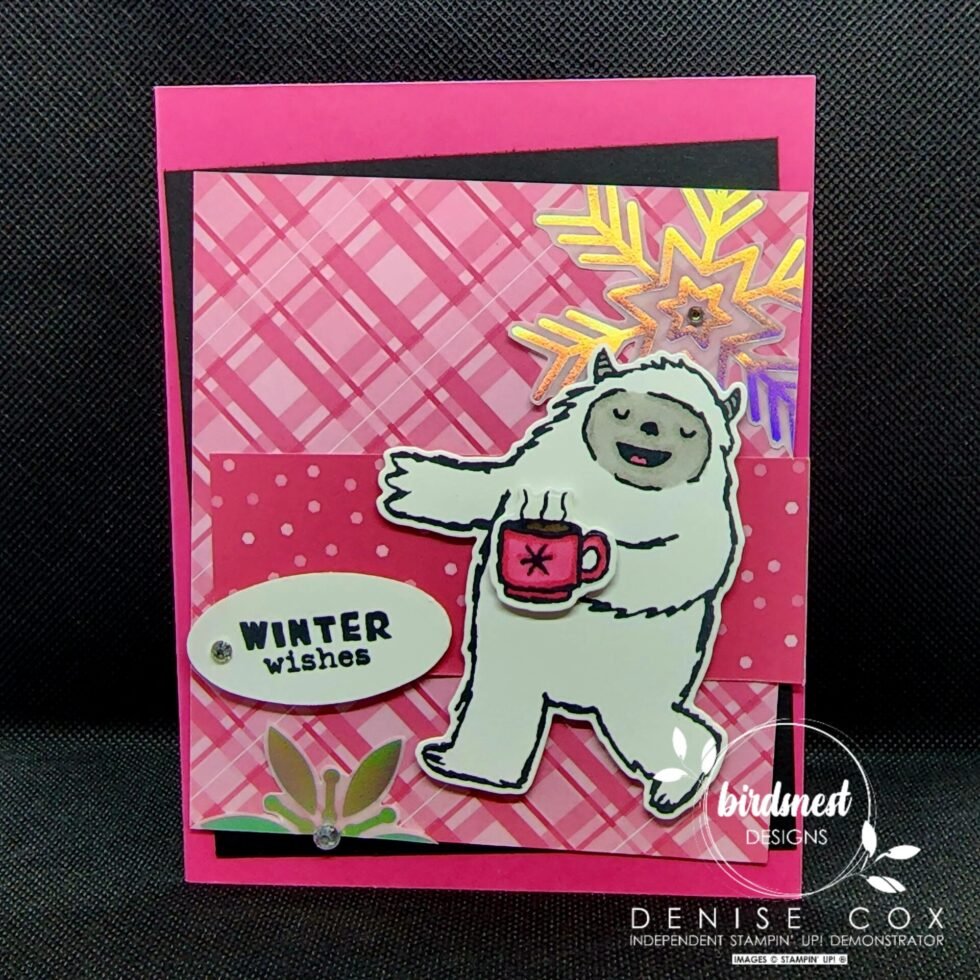
Stamping and creating with this bundle has brought me a lot of joy this week .. it is such a unique and adorable set. I love that the greetings cover more than one occasion … this week I shared a birthday card, Christmas card and now this fun Winter Wishes card (which could be used for any occasion throughout the winter months).
If you would like to create this card yourself , keep scrolling, I have the step-by-step instructions right here for you. At the bottom of today’s post you will also see a list of all of the products I used with links to make it easy for you to take a closer look at them in my online store. Please keep in mind that the Yeti dies (and Yeti To Party Bundle) are only available to purchase through September 30th or while supplies last.
Thanks for stopping by today! Wishing you a wonderful first official weekend of Fall!!

Let’s Make this Yeti To Party Card!
- Cut a Melon Mambo card base 8-1/2″ x 5-1/2″ then score on the long edge at 4-1/4″, fold to create your card
- Adhere a Basic Black piece of cardstock 4″ x 4-3/4″, to the card front on a slight angle
- Layer a 4″ x 4-1/2″ piece of Melon Mambo Designer Series Paper (DSP) over top at a slightly different angle
- Attach a 1-1/2″ x 4″ piece of Melon Mambo DSP (different pattern) across the center of the card flush to the right edge
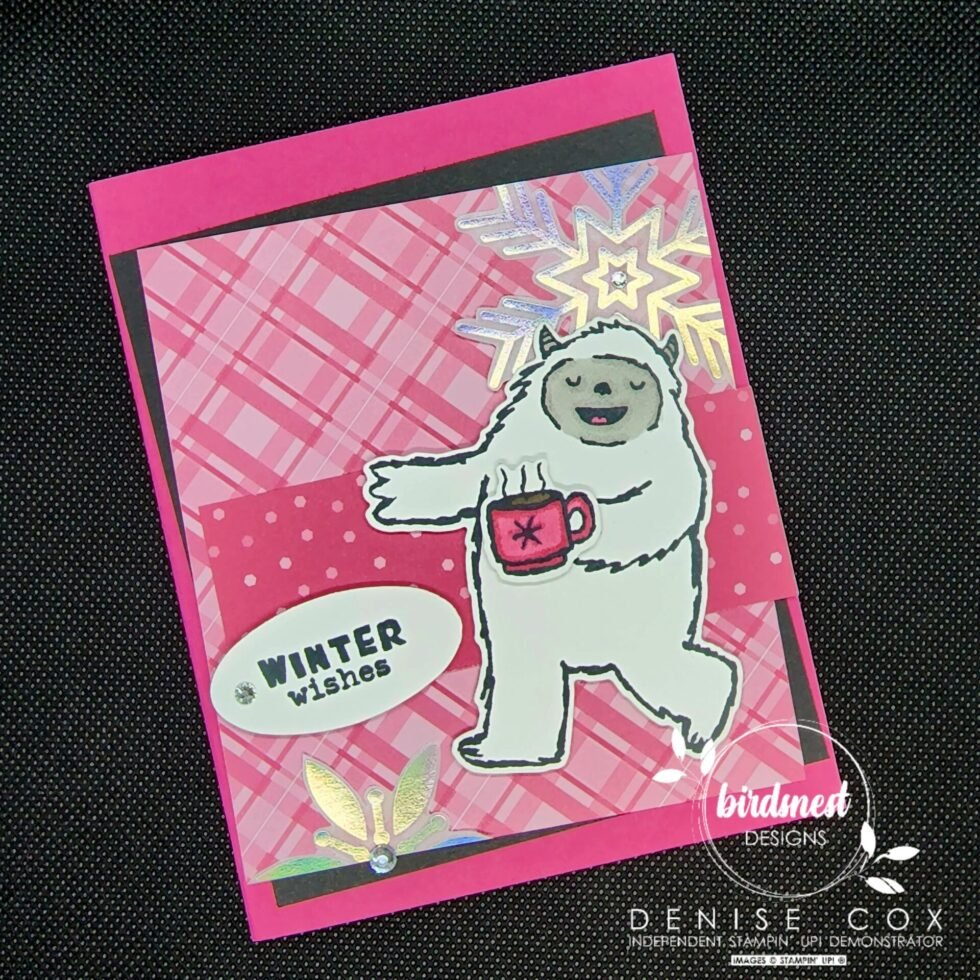
- Fussy cut two partial silver snowflakes from the Snowflake Vellum and adhere to the top and bottom of the larger Melon Mambo DSP
- Stamp the Yeti, coffee mug and greeting using Black Memento ink on to Basic White cardstock
- Die cut the Yeti and coffee mug with the Yeti dies, and punch out the greeting using the Double Oval punch
- With Stampin’ Blends colour the Yeti’s face and coffee mug and attach to the card with stampin’ dimensionals – and the sentiment too!
- Add rhinestones to the center of both snowflakes and to the left of the greeting
- Take a look below to see what I stamped on the inside of the card as well


Stampin’ Up! goodies I used on today’s card
You can purchase Stampin’ Up! products from my online store from anywhere in Canada, I would love to have you shop with me! Click on any of the items below to see it in my online store ? If you have any questions about ordering or need a little help to place your order please contact me … I am happy to help!
")
 Specialty Vellum")


