A Special Card with the Fitting Florets Collection

Howdy stamping friends – thanks for popping in! Today, as promised, I have another card to share using the Fitting Florets Collection.
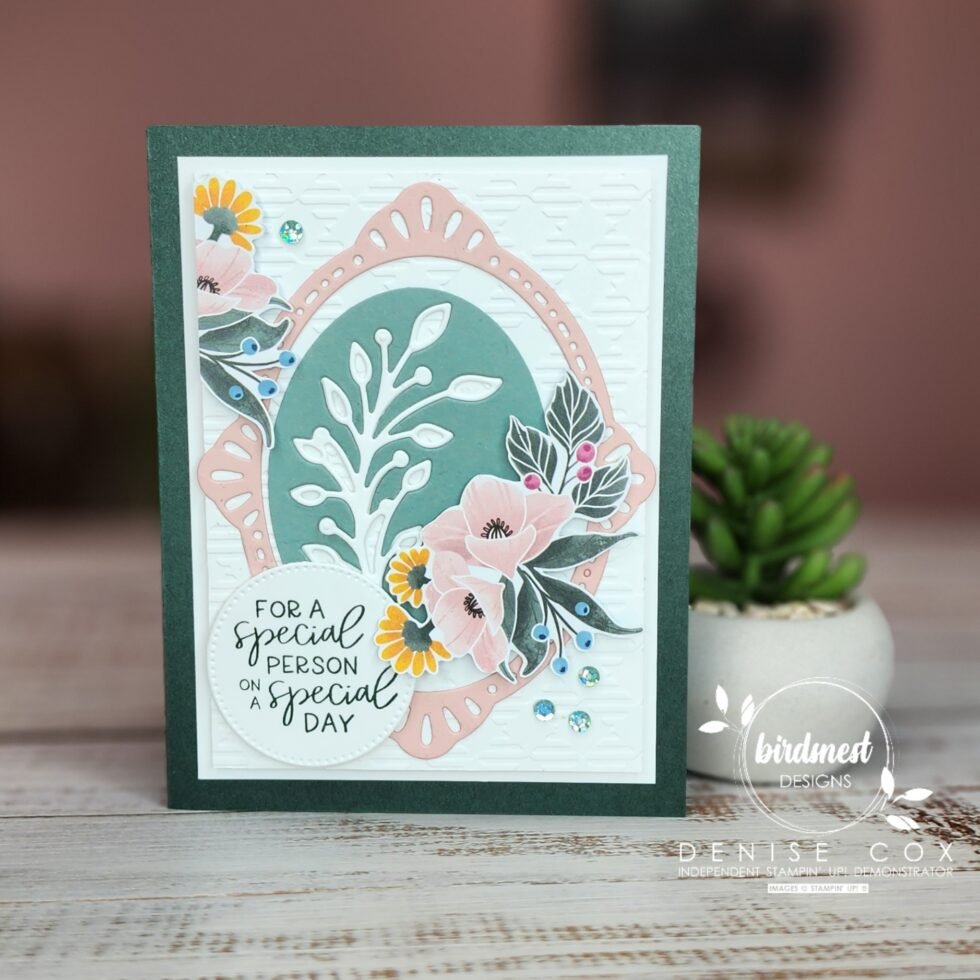
This one came together by happy accident! The negative piece from a previous project was sitting on my desk and when I saw it I thought “that is too pretty to toss in the trash” so I used it on today’s card! I’m referring to the Soft Succulent oval piece in the center… pretty isn’t it?
If you follow my blog you will know that I love this Fitting Florets Collection and am showcasing it here all week long!
As a thank you to anyone that purchases Fitting Florets (163129) from my online store, I will email you a 9-card Fitting Florets tutorial bundle! None of these cards have been featured on my blog and will be exclusive to those who purchase this collection.

I have included the instructions (and a little DSP tip) for you to create this card in the Let’s Make It section of today’ post. There is also a full supply list at the end to make it easy for you to see what products I have used.
Thanks again for popping in, have a wonderful day and Happy Stamping!

Let’s Make It!
- Start with a 8-1/2 x 5-1/2 Evening Evergreen card base – scored at 4-1/4
- Attach a 3-3/4 x 5 piece of Basic White to the card front
- Emboss a 3-1/2 x 4-3/4 Basic White piece with the Gingham embossing folder and then attach to the card front using stampin’ dimensionals
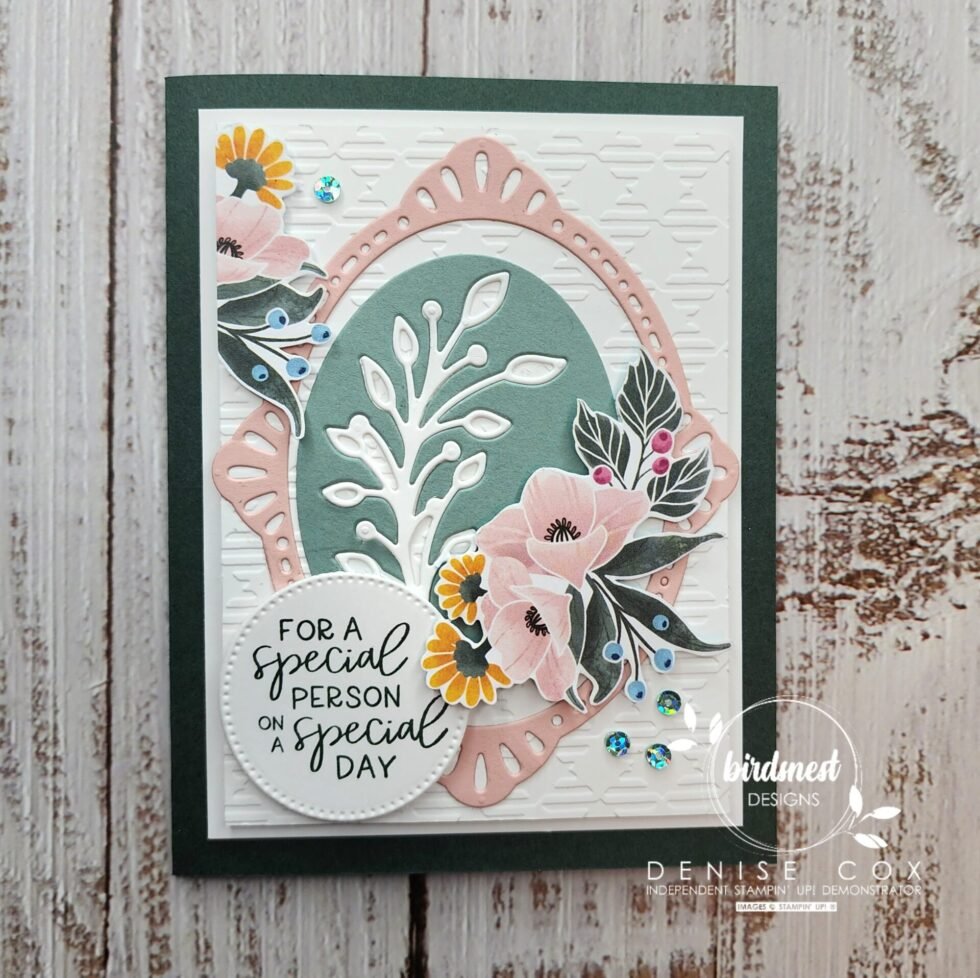
- Die cut the large oval frame from the Framed Florets dies using Blushing Bride cardstock and glue to the front of the card
- Using the Framed Florets dies with Soft Succulent cardstock die cut the oval-striped frame with the branch accent die placed in the center – for this card we are going to use the negative image in the middle, so the oval with the leaf cut out. Attach this in the Blushing Bride frame positioned to the left
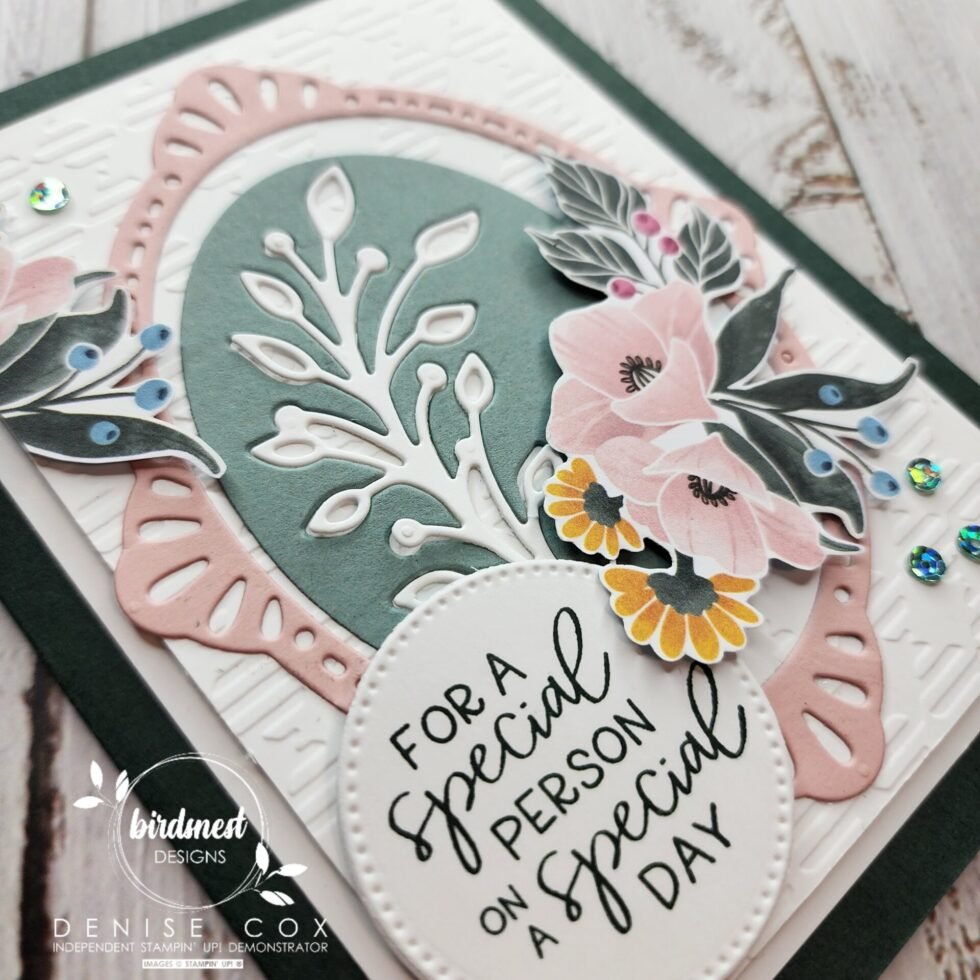
- Using Basic White cardstock, die cut the Framed Florets branch accent and a 1-5/8 circle from the Stylish Shapes dies
- Glue the white branch die cut inside the matching cut out on the card front
- Stamp the sentiment with Evening Evergreen ink onto the circle and then attach with stampin’ dimensionals
- From the Fitting Florets Collection Designer Series Paper, fussy cut floral clusters and attach to the card with stampin’ dimensionals
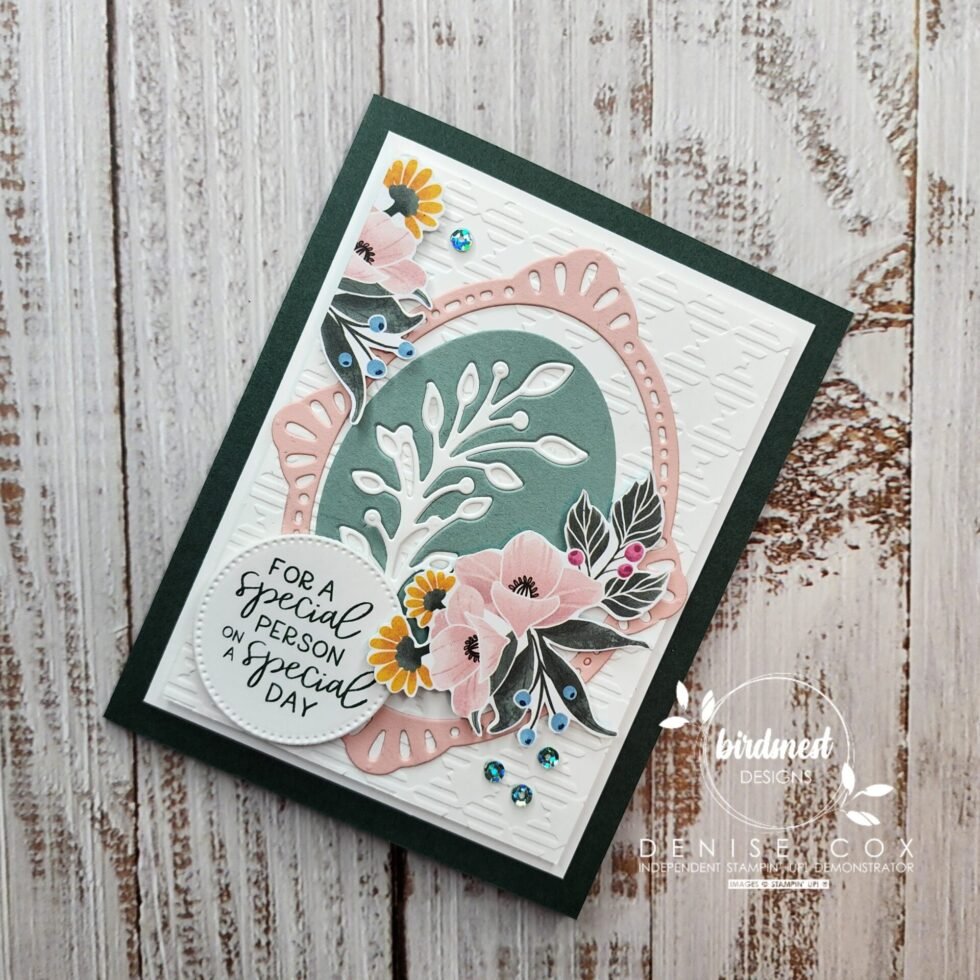
- Add a few Adhesive-Backed Sequins & Gems to the card to add just a little sparkle
- Take a look at the picture below to see how I decorated the 4 x 5-1/4 Basic White insert for my card too!
Fussy cutting tip for Designer Series Paper: There are always partial images at the edges of the DSP sheets, don’t overlook these. The partial images can be cut out and used along the edge of a card (like I did here on the top left of the card front) or to decorate the inside of the card or envelope. This way no pretty Designer Series Paper goes unused! Just my little tip for the day!

Stampin’ Up! goodies I used on today’s card
You can purchase Stampin’ Up! products from my online store from anywhere in Canada, I would love to have you shop with me! Click on any of the items below to see it in my online store ? If you have any questions about ordering or need a little help to place your order please contact me … I am happy to help!
")


