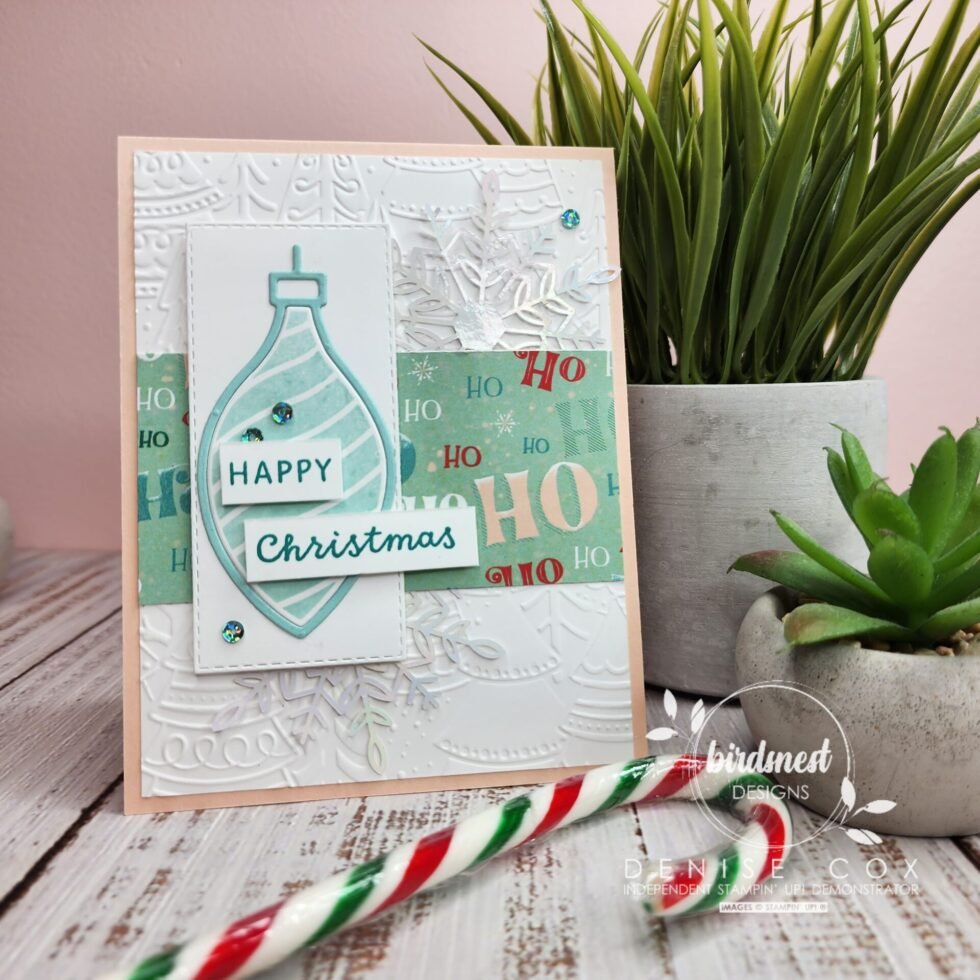
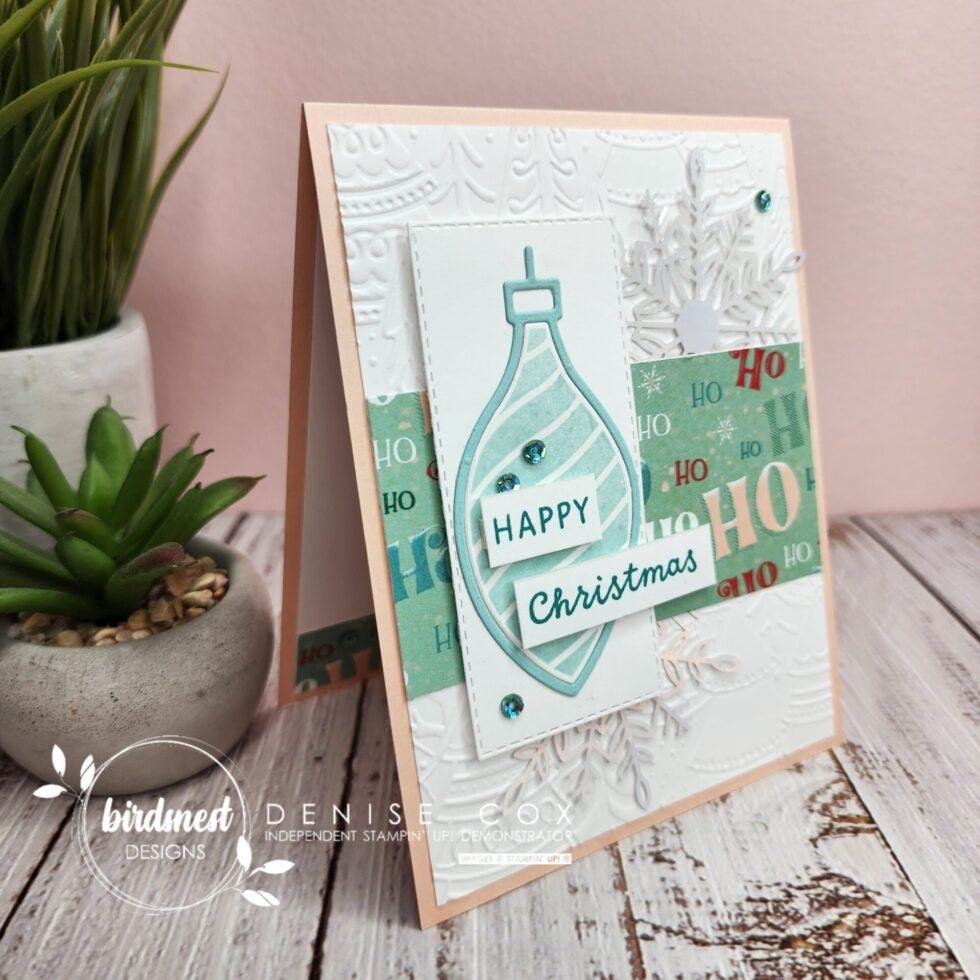
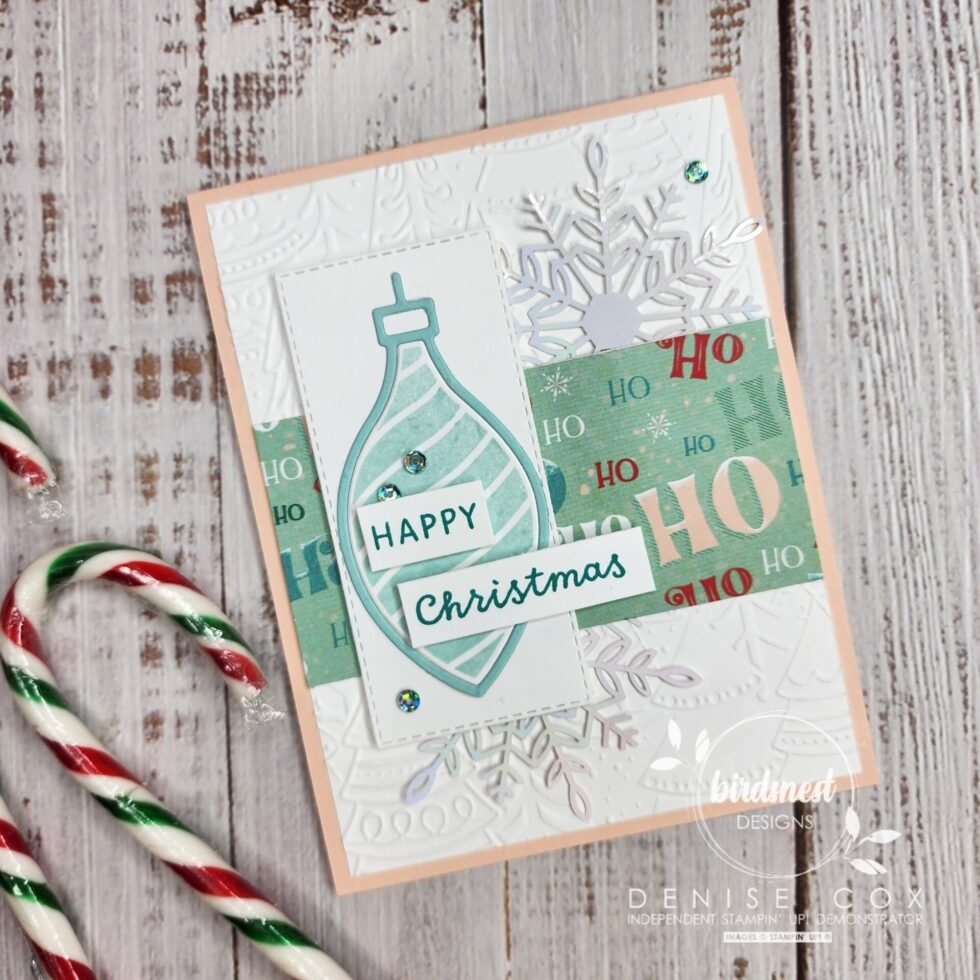
Soft Pastel Spruced Up Christmas Card

Hello friends and welcome! Today I am sharing a fun non-traditional coloured holiday card using the Stampin’ Up! Spruced Up bundle. I have been creating and sharing with this bundle all week long and am having a blast!! If you’ve missed the other posts this week just click here and you’ll be able to see them all!
If you are looking for that one awesome Christmas bundle to add to your collection this season – then this just might be it! There are so many options from the fun, whimsical images to the wonderful words and sentiments, that you will be creating cards, tags and scrapbook layouts for days!
If you would like to create this card yourself , keep scrolling, I have the instructions here for you. At the bottom of today’s post you will also see a list of all of the products I used with links to make it easy for you to take a closer look at them in my online store.
Thanks for stopping by today! Wishing you a wonderful day and Happy Stamping!!

Let’s Make this Spruced Up Christmas Pastel Card!
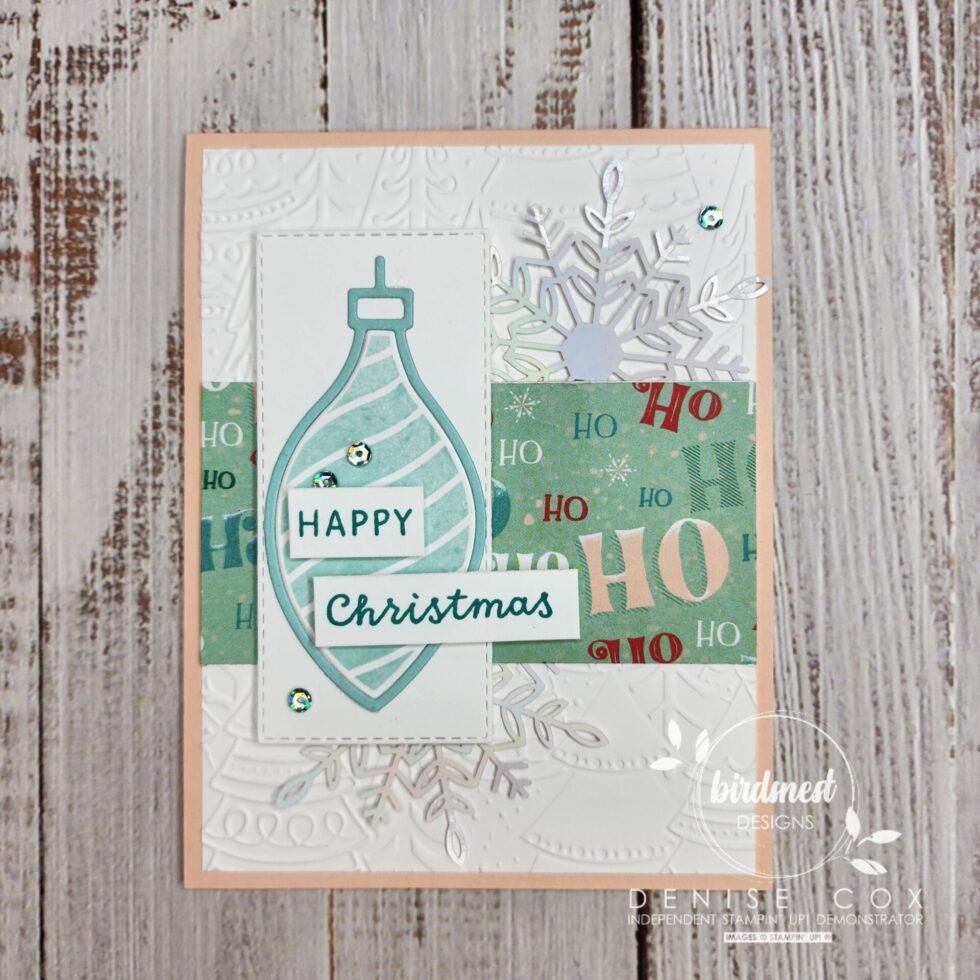
- Cut a Petal Pink card base (tent fold – 11 x 4-1/4), score in half and fold to create your card
- Run a piece of Basic White cardstock through the Stampin’ Cut & Emboss machine to emboss with the Whimsical Woodland 3D embossing folder, attach to the card front
- Adhere two Wonderful Snowflakes to the card front – one top right corner and other in the bottom left
- Add a 2″ strip of Santa Express Designer Series Paper across the center of the card front
- Die cut a stitched rectangle from Basic White cardstock and adhere to the card with stampin’ dimensionals
- Stamp the ornament from the Spruced Up stamp set with Pool Party ink on to Basic White cardstock and die cut with the coordinating die
- Cut a second ornament out of Pool Party cardstock
- Adhere the stamped portionof the ornament to the stitched rectangle and then add the border edge from the Pool Party cut out
- Using Bermuda Bay ink, stamp ‘merry’ and ‘christmas’ onto 1/2″ strips of white cardstock and add to the card with stampin’ dimensionals
- Complete the front of the card by adding a few adhesive backed sequins for a little Christmasy bling!
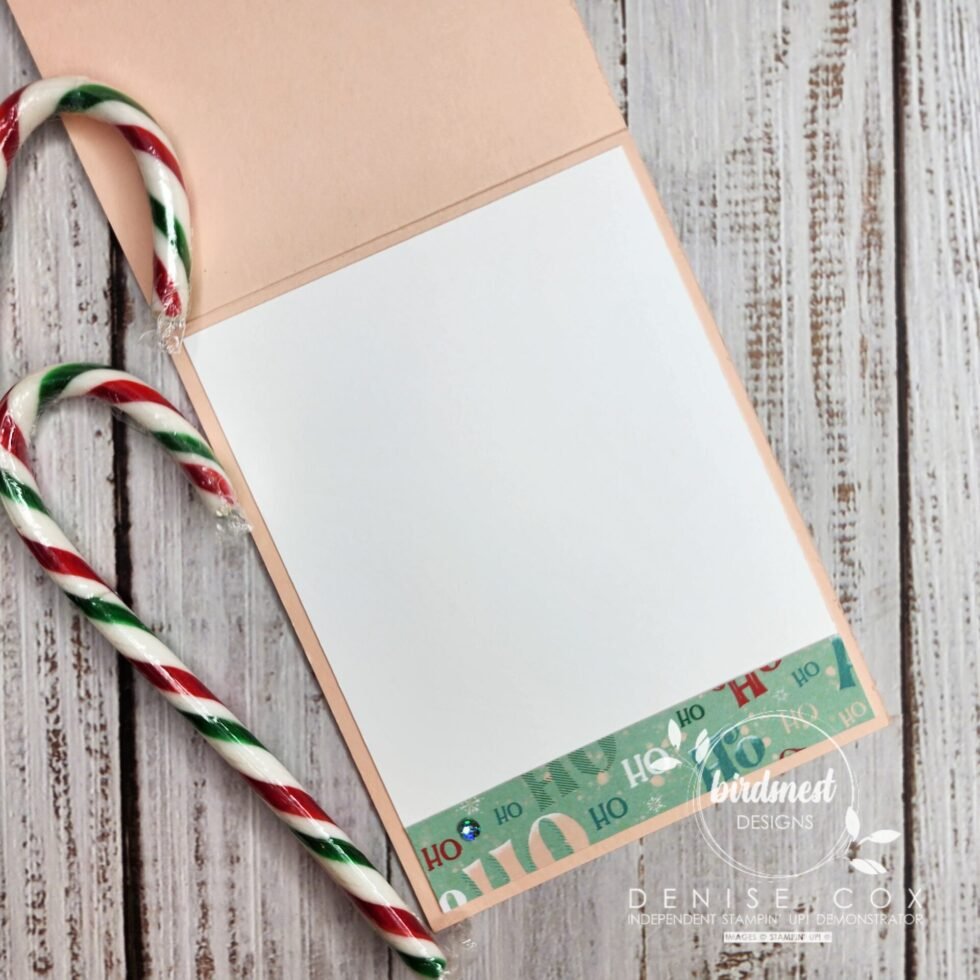
- Don’t forget to add a little love to the inside of your card too … the photo below shows how I decorated mine!
Stampin’ Up! goodies I used on today’s card
You can purchase Stampin’ Up! products from my online store from anywhere in Canada, I would love to have you shop with me! Click on any of the items below to see it in my online store ? If you have any questions about ordering or need a little help to place your order please contact me … I am happy to help!
")

 Designer Series Paper")


