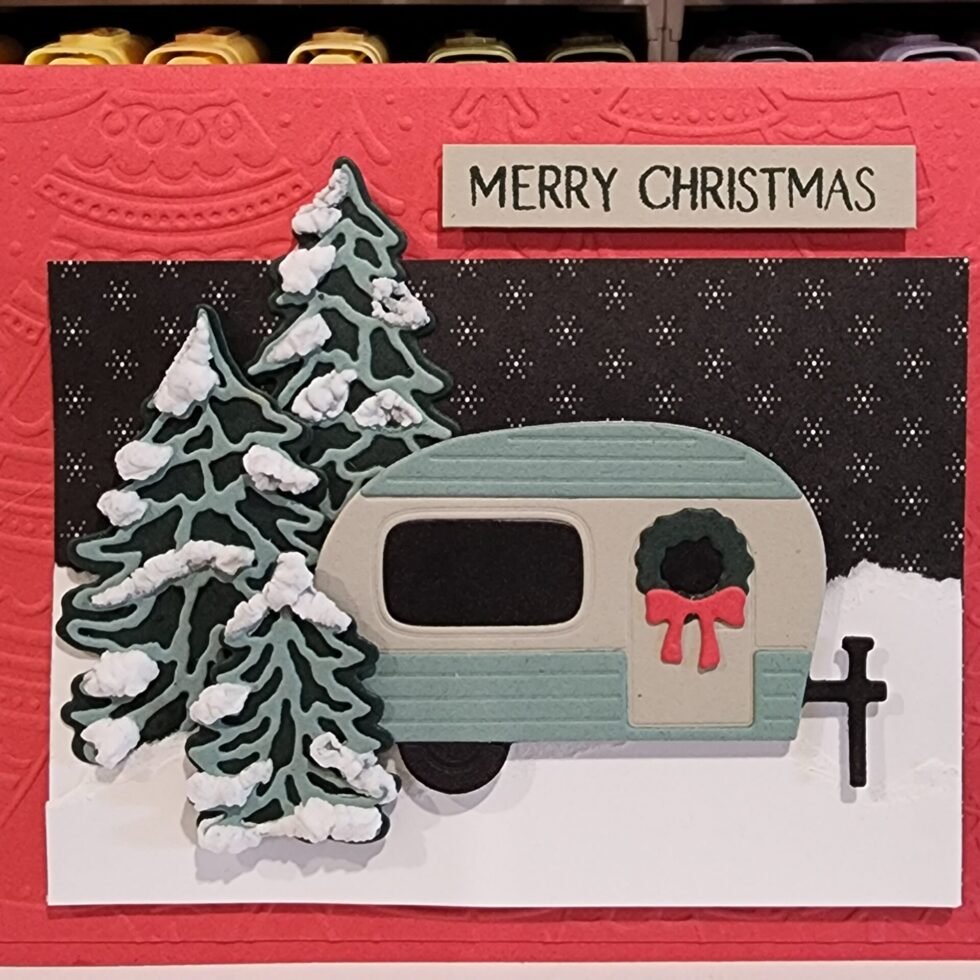
Create Fun Christmas Cards with the Tree Lot Dies


oot woot … it’s Friday which means it’s Christmas in July on my blog today! This fun Christmas Card wraps up my week long showcase of the fabulous Stampin’ Up!® Tree Lot Dies. To create this card I have combined a number of current products, I’ve included the full list at the end of today’s post.
When I saw the little wreath die in this set I couldn’t wait to use it… just look at how cute it is!! These dies really can be used for pretty much any occasion and Christmas is no exception. I’ve included the step-by-step instructions if you want to learn how you can recreate this card. If you enjoyed this post, please leave a comment on this post … I love hearing from you ❤
Do you want to add these dies to your crafting goodies? Get them for free with a $120 CDN order (before shipping and taxes) during July & August Sale-a-Bration. All sale-a-bration exclusive products are while supplies last so don’t wait too long to place your order!
Thanks for stopping by today … have a fabulous weekend & happy stamping!


Let’s Make It!
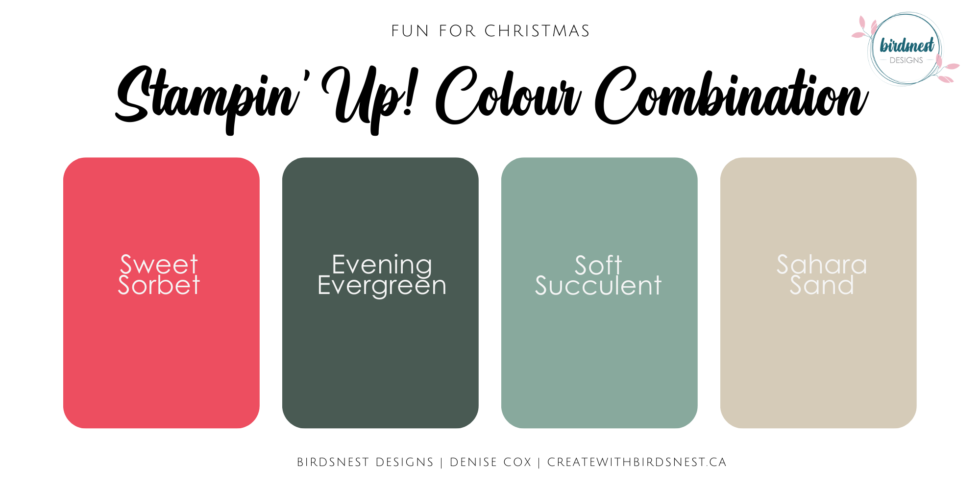
- Cut a Sweet Sorbet card base 8-1/2″ x 5-1/2″ then score on the long edge at 4-1/4″ and fold to create your landscape card
- Emboss a 4″ x 5-1/4″ piece of Sweet Sorbet cardstock using the Whimsical Woodland 3D embossing folder and adhere to the card front
- Using stampin’ dimensionals attach a 4-1/4″ x 3″ piece of black with white snowflakes DSP from the Lights Aglow collection
- Tear a piece of 2″ x 4-1/4″ piece of Basic White in to two pieces along the long edge and then layer the two pieces together to create layers of ‘snow’
- Attach the ‘snow’ to the bottom of the already attached DSP
- Stamp MERRY CHRISTMAS from the Peaceful Deer stamp set with Evening Evergreen ink on a 3/8″ x 2-1/8″ piece of Sahara Sand cardstock and attach with stampin’ dimensionals above the DSP
- From the Tree Lot Dies die cut the following:
- Trailer in Sahara Sand
- Trailer trim and all three detailed trees in Soft Succulent
- Wreath and all three solid trees in Evening Evergreen
- Wreath bow in Sweet Sorbet
- On the Sahara Sand trailer colour both windows, the tire and the hitch with a Basic Black Stampin’ Write Marker
- Attach both trims, the wreath and the bow to the trailer with liquid glue
- Layer the three solid trees with the detailed trees and attach to the card as shown using stampin’ dimensionals
- Tuck the back end of the trailer amongst the trees and adhere with stampin’ dimensionals (I used scotch tape on the back of the trailer to hold the windows in place)
- Add a little Snowfall Accents Puff Paint to the trees and then carefully heat with a heat tool to make the ‘snow’ puff


Stampin’ Up! goodies I used on today’s card
You can purchase Stampin’ Up! products from my online store from anywhere in Canada, I would love to have you shop with me! Click on any of the items below to see it in my online store ? If you have any questions about ordering or need a little help to place your order please contact me … I am happy to help!


 Specialty Designer Series Paper")


")