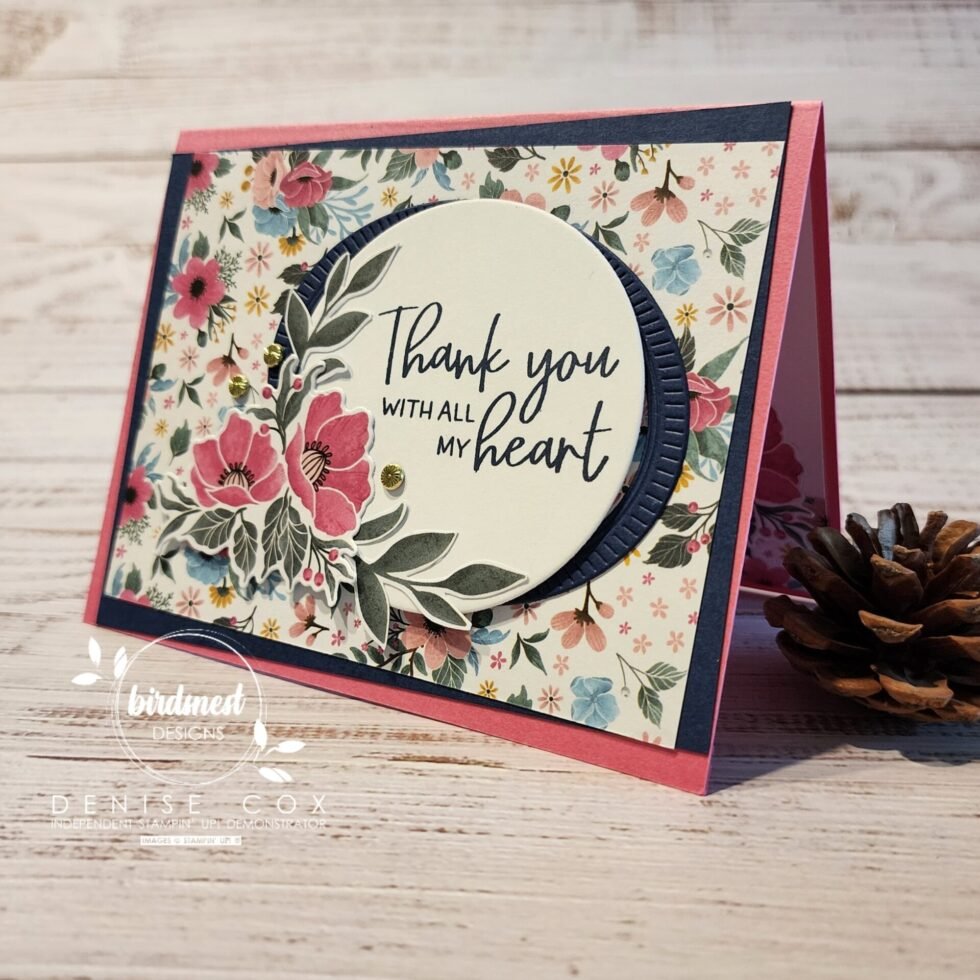
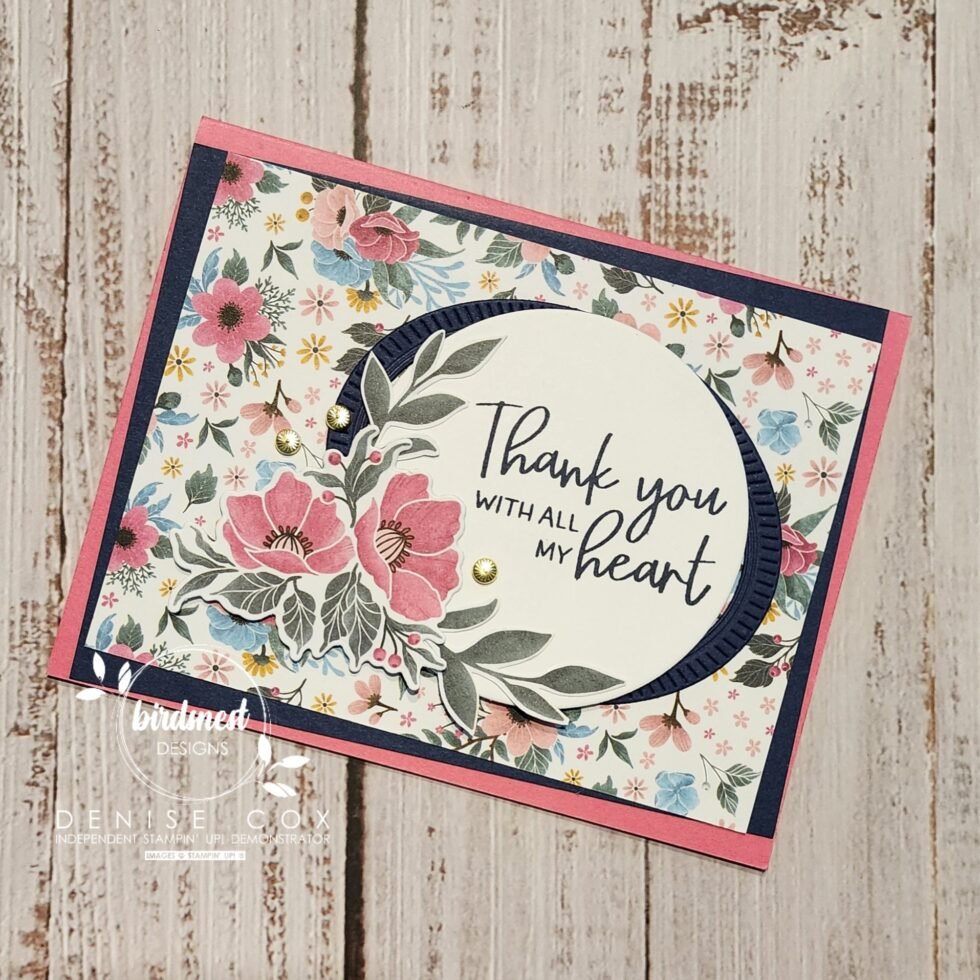
Heartfelt Thank You Card with Fitting Florets Collection

Hello… Happy Halloween! Today I am so excited to share a project that I have created with the releasing-tomorrow Fitting Florets Collection! You guys… this entire collection is GORGEOUS!! So much so that I will be sharing a project a day this week here on my blog.
You will be able to purchase this collection starting tomorrow, November 1st, from my online Stampin’ Up! store and when you do I will email you a FREE 9-card tutorial bundle featuring 9 beautiful cards you can create with your new Fitting Florets collection!
The Framed Florets bundle will be in the upcoming Jan-Jun Mini Catalogue but all of the other products (Gold Adhesive-Backed Swirls, Framed & Festive stamp set, Fitting Florets Designer Series Paper) are only available while supplies last! So if you love this collection as much as I do … don’t delay get yours ordered early! Check back in tomorrow and I will have another gorgeous product to share with you and all of the links to make ordering this Fitting Florets collection super easy for you!
Thanks for popping in and letting me share this pretty stamping project with you! Happy Halloween and be safe if you are trick-or-treating tonight!!

Let’s Make It!
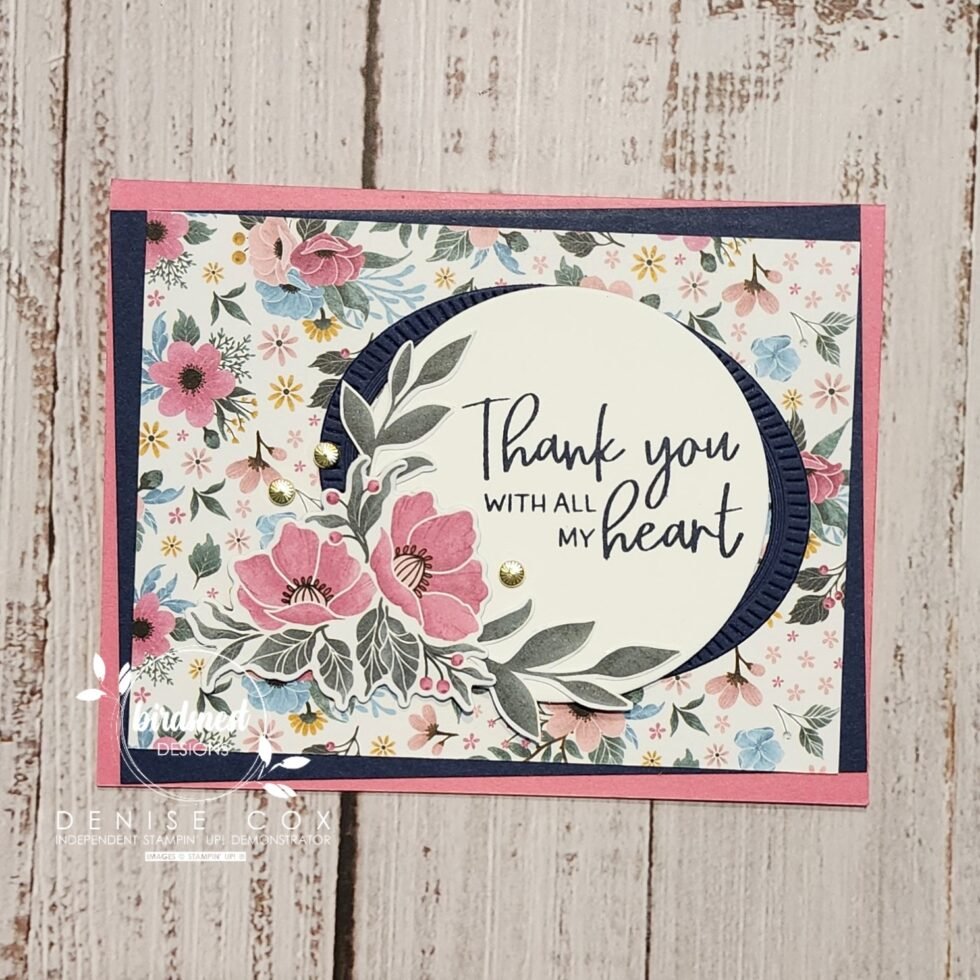
- Start with a Polished Pink card base 8-1/2″ x 5-1/2″ scored at 4-1/4″
- Adhere a 4″ x 5-1/4″ piece of Night of Navy cardstock to the card front on an angle
- Attach a 3-3/4″ x 5″ piece of Fitting Florets DSP offset on the Night of Navy cardstock
- Die cut the oval striped frame from the Framed Florets dies in Night of Navy cardstock and attach to the card
- Die cut a Basic White circle from the Layering Circles dies and stamp the sentiment on with Night of Navy ink, attach over the frame with stampin’ dimensionals
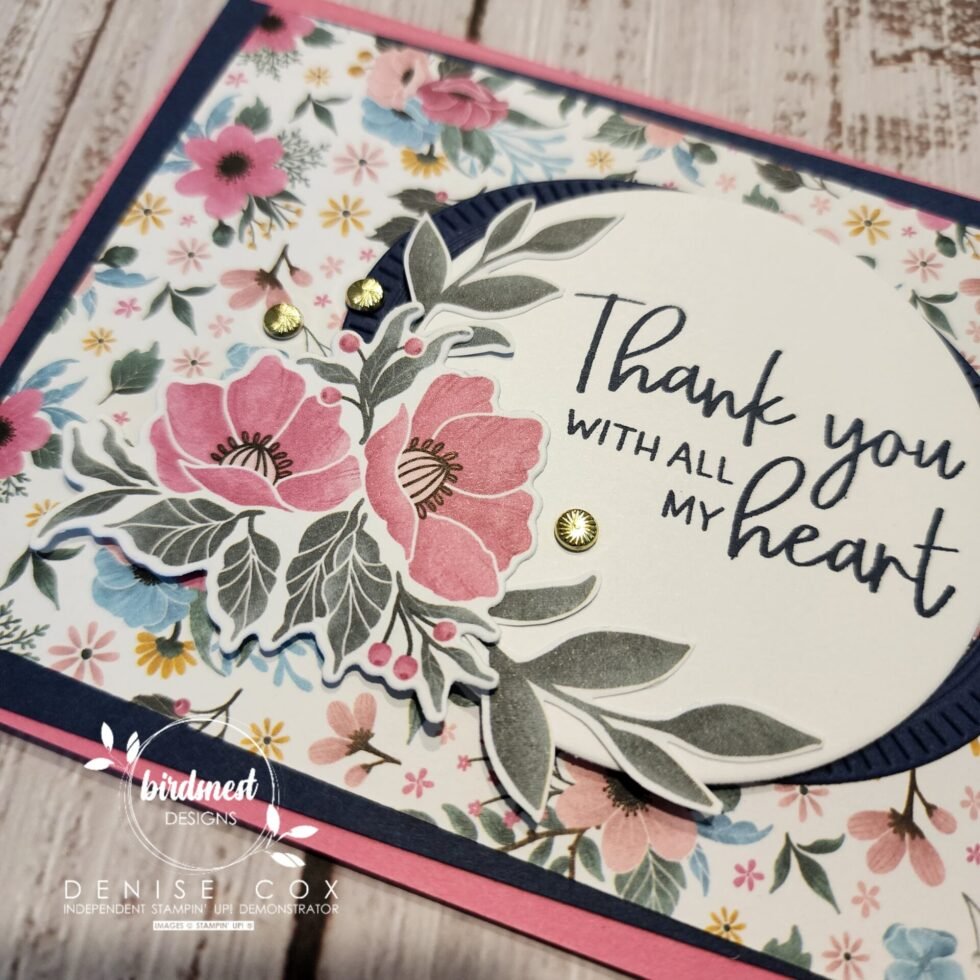
- Die cut the Polished Pink floral cluster from the Fitting Florets DSP with the coordinating die from the Framed Florets dies and attach to the left corner of the circle with stampin’ dimensionals
- Fussy cut two of the leaf branches from the Fitting Florets DSP and adhere them to the top and bottom of the flowers as shown in the photo
- Add three Gold Adhesive-Backed Swirls to your card to complete the front
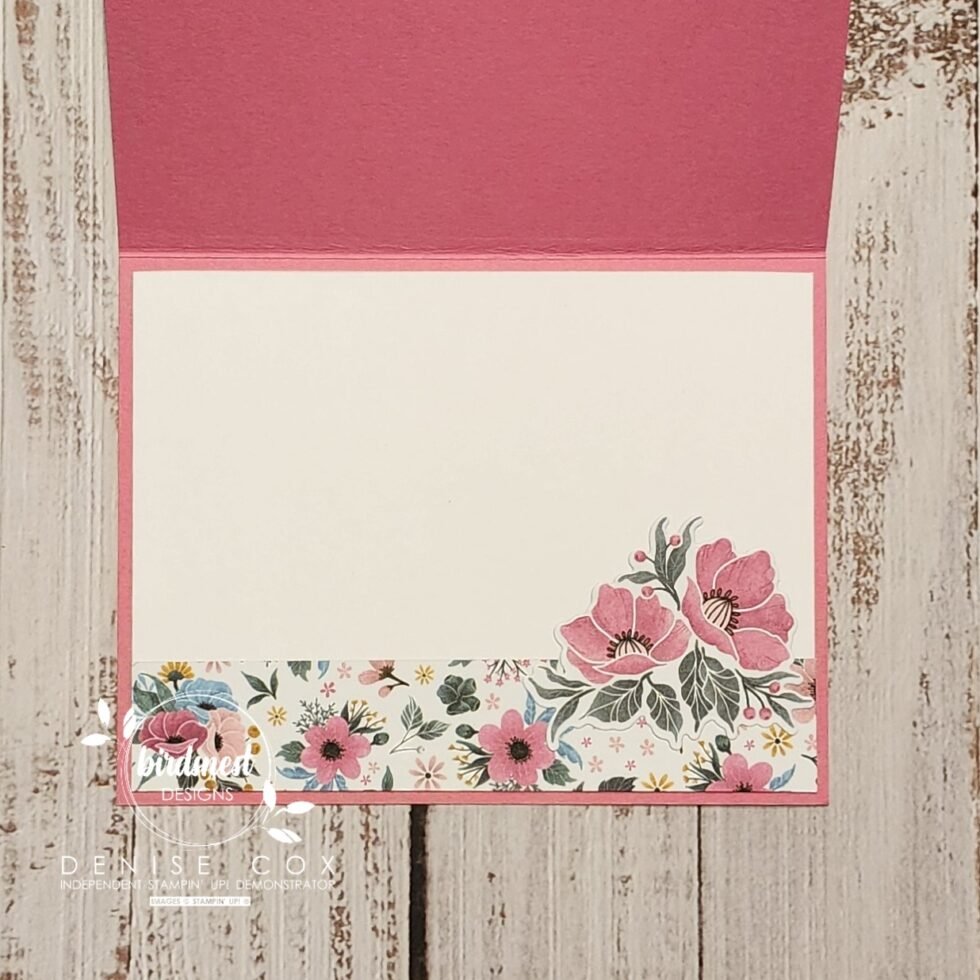
- Take a look at the picture below to see how I decorated the 4″ x 5-1/4″ Basic White insert for my card too!
Stampin’ Up! goodies I used on today’s card
You can purchase Stampin’ Up! products from my online store from anywhere in Canada, I would love to have you shop with me! Click on any of the items below to see it in my online store ? If you have any questions about ordering or need a little help to place your order please contact me … I am happy to help!


