Glad We’re Friends: Happy Birthday Card


Hello friends and happy Monday! Today I am introducing the Glad We’re Friends stamp set from the Stampin’ Up! Annual Catalogue. This will be my product focus this week and I am so excited to share this fun stamp set with you.
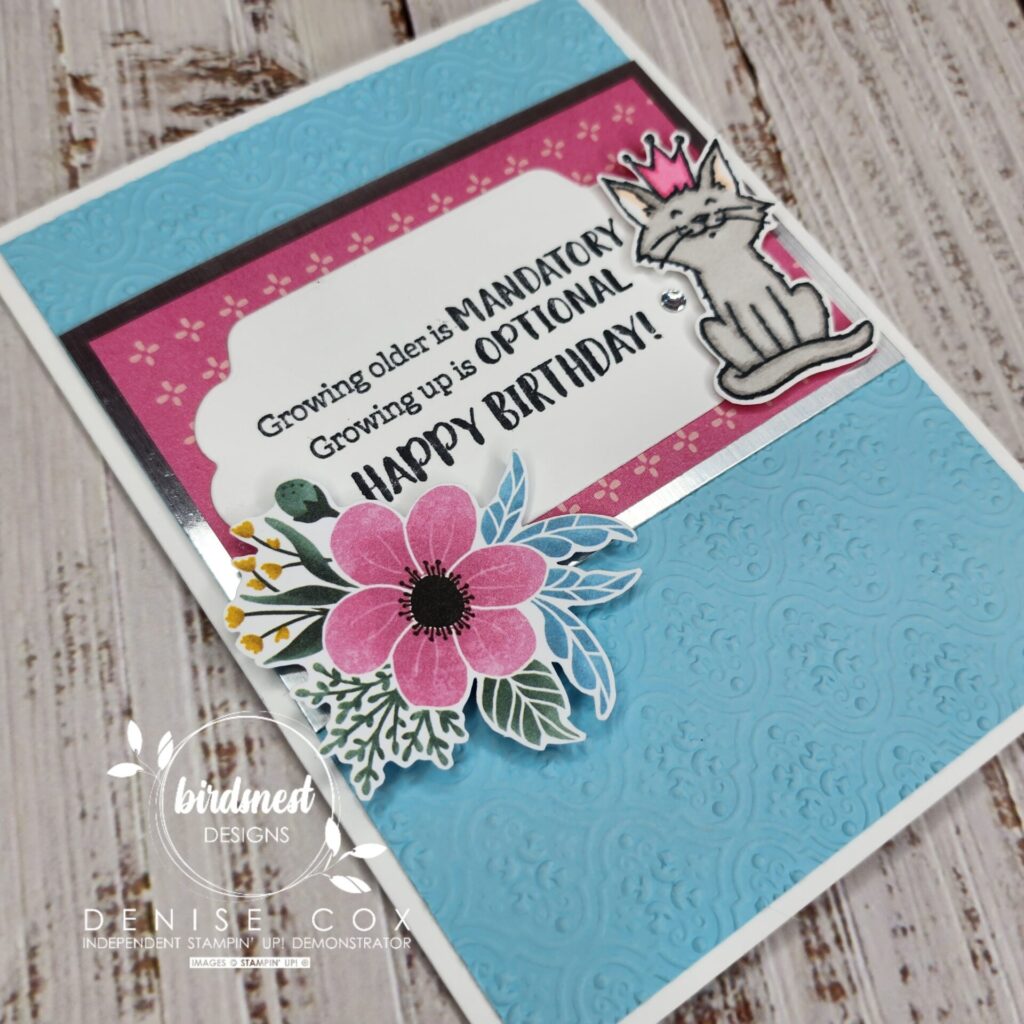
For my first card this week I chose to use the cat image … I just love it. Of course I chose to use pink for the crown and added bling by incorporating silver foil paper and a rhinestone. My goal with today’s project share is to show you how you can use the cute Glad We’re Friends stamp set to make a pretty & classy birthday card that’s fit for a queen!!
To take a closer look at the fun-loving Glad We’re Friends stamp set turn to page 51 of your Stampin’ Up! Annual catalogue or click here to view it in my online store.
I have included the instructions in the “Let’s Make It” section of today’s post if you would like to recreate this pretty little birthday card yourself. At the end of today’s post there is a list of all of the products that I have used in creating today’s card so be sure to check that out if you see something that you like!
Thank you for stopping in today … have a wonderful week!


Let’s Make It!
- Start with a thick Basic White card base (8-1/2 x 5-1/2 scored at 4-1/4)
- Using the Quatrefoil embossing folder emboss a panel of Balmy Blue cardstock and adhere to the front of the card
- Layer a piece of pink Fitting Florets designer series paper on to a slightly larger piece of silver foil paper and then attach to the card front
- Die cut the label out of Basic White cardstock using the Seasonal Labels dies
- Stamp the sentiment from the Glad We’re Friends stamp set with black ink onto the label and adhere to the designer series paper
- On a small scrap piece of Basic White cardstock with Tuxedo Black Memento ink, stamp the cat image from the Glad We’re Friends stamp set
- Colour the cat image with Stampin’ Blends, fussy cut with your paper snips and adhere to the right of the sentiment using stampin’ dimensionals
- Fussy cut a floral image from the Fitting Florets designer series paper and adhere to the bottom left of the sentiment label using stampin’ dimensionals
- To add just a little sparkle to your card, add a single rhinestone between the sentiment and the adorable cat image
- Remember to add a little extra love to the inside of your card too! The photo below shows how I decorated the 4 x 5-1/4 Basic White insert for my card!


Stampin’ Up! products I used on today’s card
You can purchase Stampin’ Up! products from my online store from anywhere in Canada, I would love to have you shop with me! Click on any of the items below to see it in my online store 😊 If you have any questions about ordering or need a little help to place your order please contact me … I am happy to help!
")
 Designer Series Paper")
 Specialty Pack")


