Share A Milkshake Birthday Card
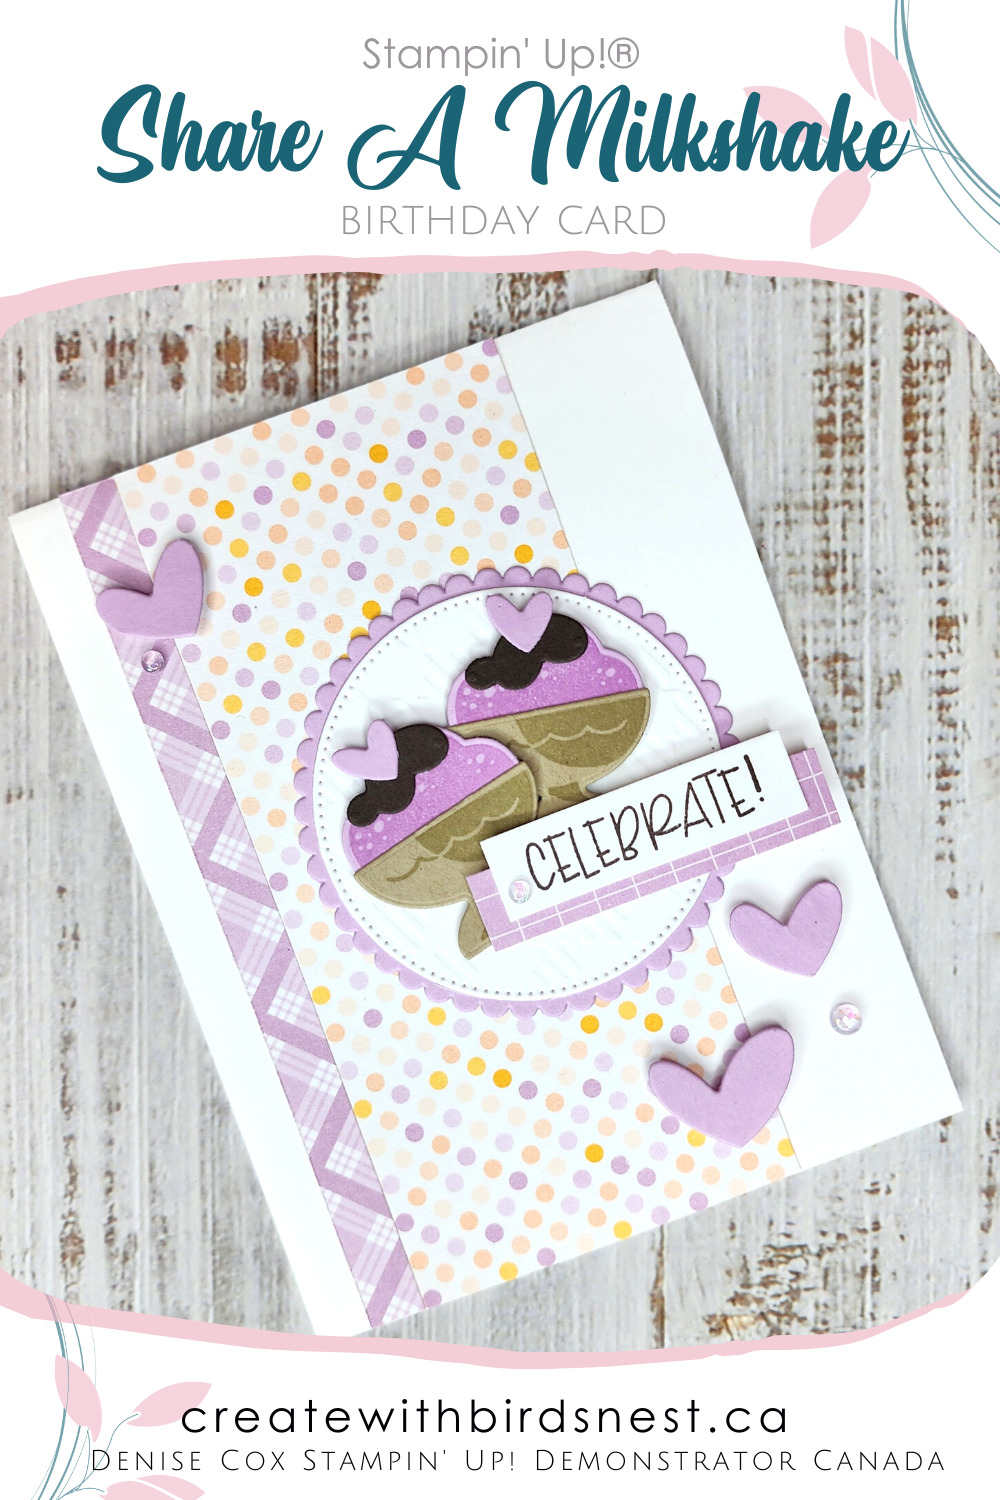
Welcome, it is so nice to see you! Today is Monday which means I have a new featured product of the week to share with you! This week I will be showcasing the Share A Milkshake bundle from the Jan-Apr Mini Catalogue. This has quickly become my favourite bundle … I just love how adorable it is ❤️❤️. For today’s card I have paired it with some of the Dandy Designs Designer Series Paper. This huge pack of paper can be yours free with a $120 order during Sale-a-Bration.
During Sale-A-Bration (Jan 5 – Feb 28) you can get your own Danady Designs paper collection free when you place an order of $120 in my online store. When you shop online using the current host code 3USSTAU6 you will also earn customer loyalty tokens to collect and redeem for more free product! You get one token for every $10 you spend (before shipping and tax) and tokens and loyalty cards will be mailed to you along with a thank you card once your order has shipped.
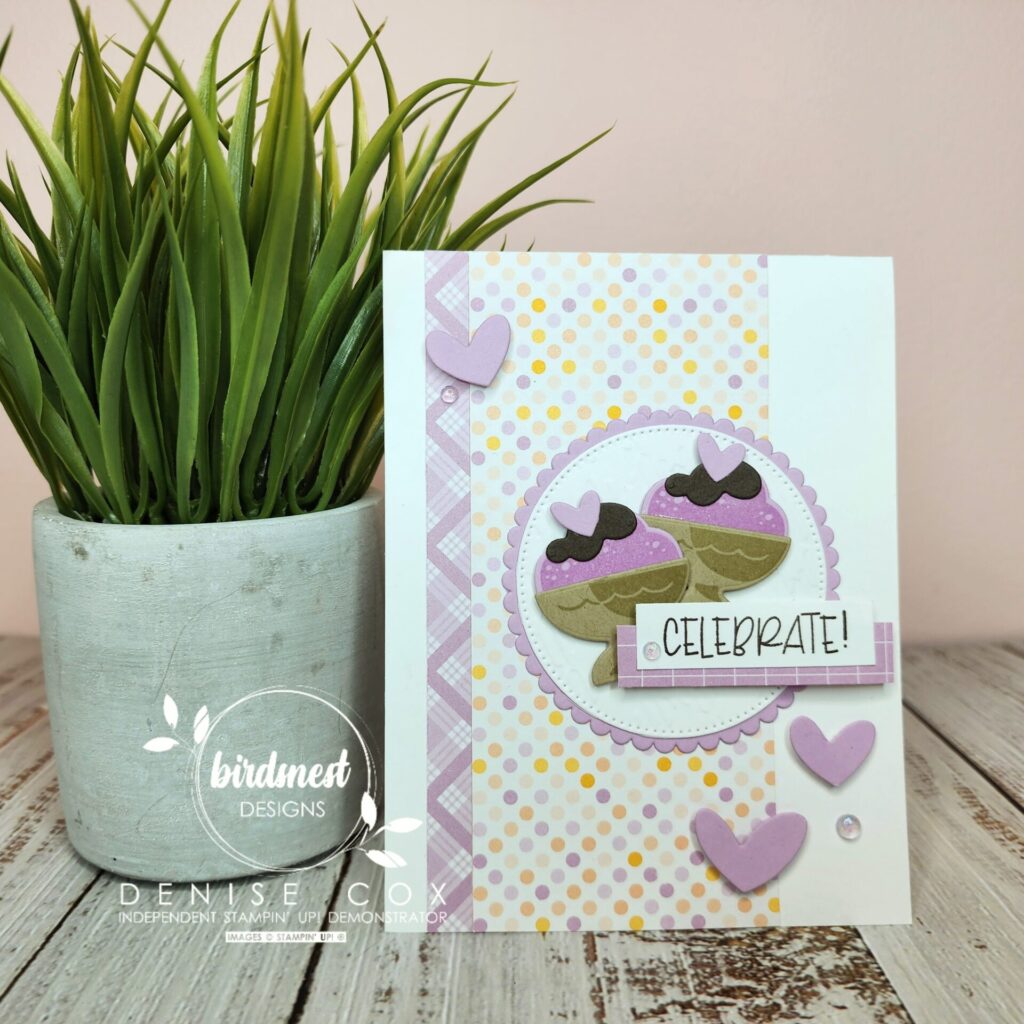
If you would like to recreate this fun Share A Milkshake birthday card yourself just scroll on down to the Let’s Make It section of this post. I have included the measurements and step-by-step instructions for you. I have also included a complete supply list at the end of the post to make shopping for these supplies nice and easy for you!
Thanks for popping in, have a fabulous day and Happy Stamping!


Let’s Make It!
- Start with a Thick Basic White card base 4-1/4 x 11 scored in half at 5-1/2
- Next add a 3/8 strip of Fresh Freesia plaid pattern and 2-1/2 strip of the polka dots pattern from the Dandy Designs Designer Series Paper collection to the front of the card
- Die cut a scalloped circle from Fresh Freesia cardstock using the Layering Circles Dies
- Die cut a stitched circle from Basic White cardstock, emboss it with the Gingham embossing folder
- Layer the two die cut circles together and attach to the card front
- On Crumb Cake cardstock using Crumb Cake ink stamp 2 of the details of the sundae cup and cut out with the coordinating Share A Milkshake die
- On Fresh Freesia cardstock using Fresh Freesia ink stamp 2 of the small ice cream images and cut out with the coordinating Share A Milkshake die – adhere to the sundae cups
- Die cut the 2 chocolate toppings from Early Espresso cardstock and adhere to the sundaes
- Die cut the 3 heart image twice from Fresh Freesia cardstock, adhere the 2 smallest hearts to the top of the sundaes and a large and 2 medium to the card front with mini stampin dimensionals
- Attach the sundaes to the Basic White stitched circle using stampin’ dimensionals
- Attach a 2-1/4 x 1/2 strip of the Fresh Freesia grid pattern DSP across the bottom of the sundaes with stampin’ dimensionals
- Stamp ‘CELEBRATE!’ with Early Espresso ink on to a 2 x 1/2 strip of Basic White cardstock
- Add 3 Fresh Freesia Opal Rounds to the front of your card
- For the inside add some love to a 4 x 5-1/4 panel of Basic White before adhering inside your card. Take a look at the photo below to see what I did on my sample card.


Stampin’ Up! products I used on today’s card
You can purchase Stampin’ Up! products from my online store from anywhere in Canada, I would love to have you shop with me! Click on any of the items below to see it in my online store 😊 If you have any questions about ordering or need a little help to place your order please contact me … I am happy to help!
")


 Designer Series Paper")


