Adventurous Birthday Wishes with the Tree Lot Dies

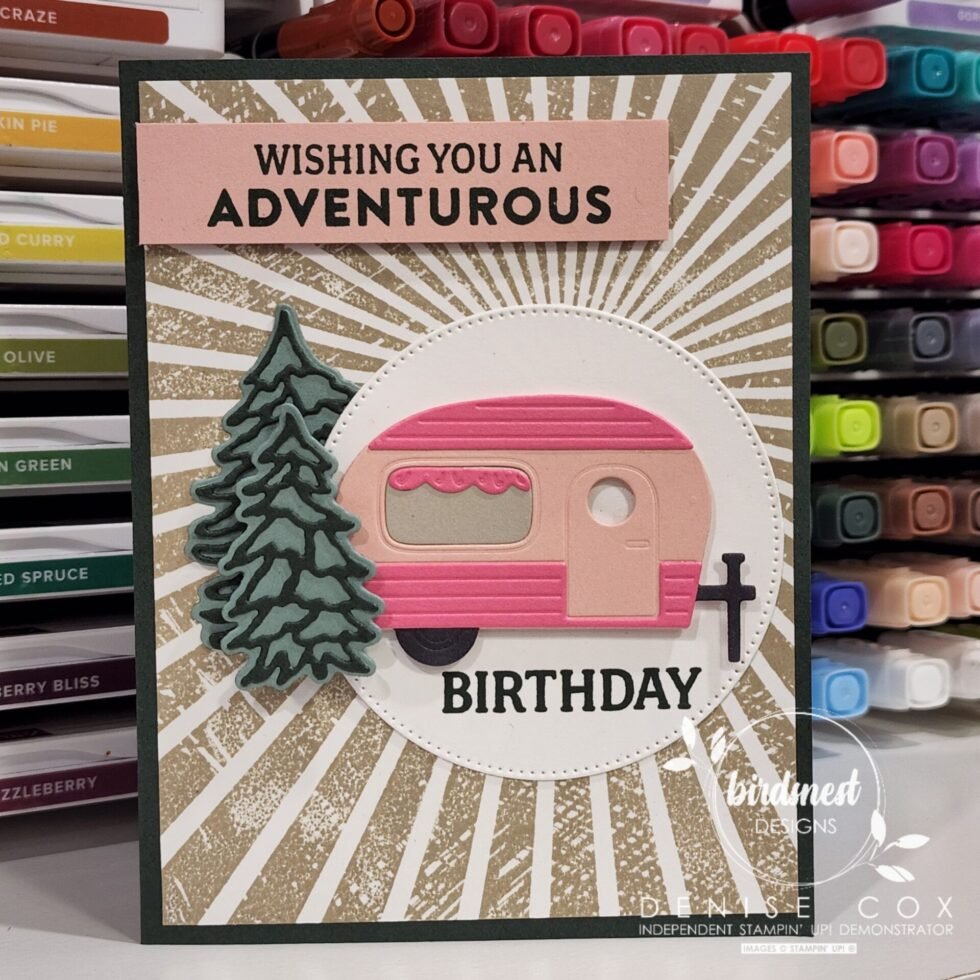
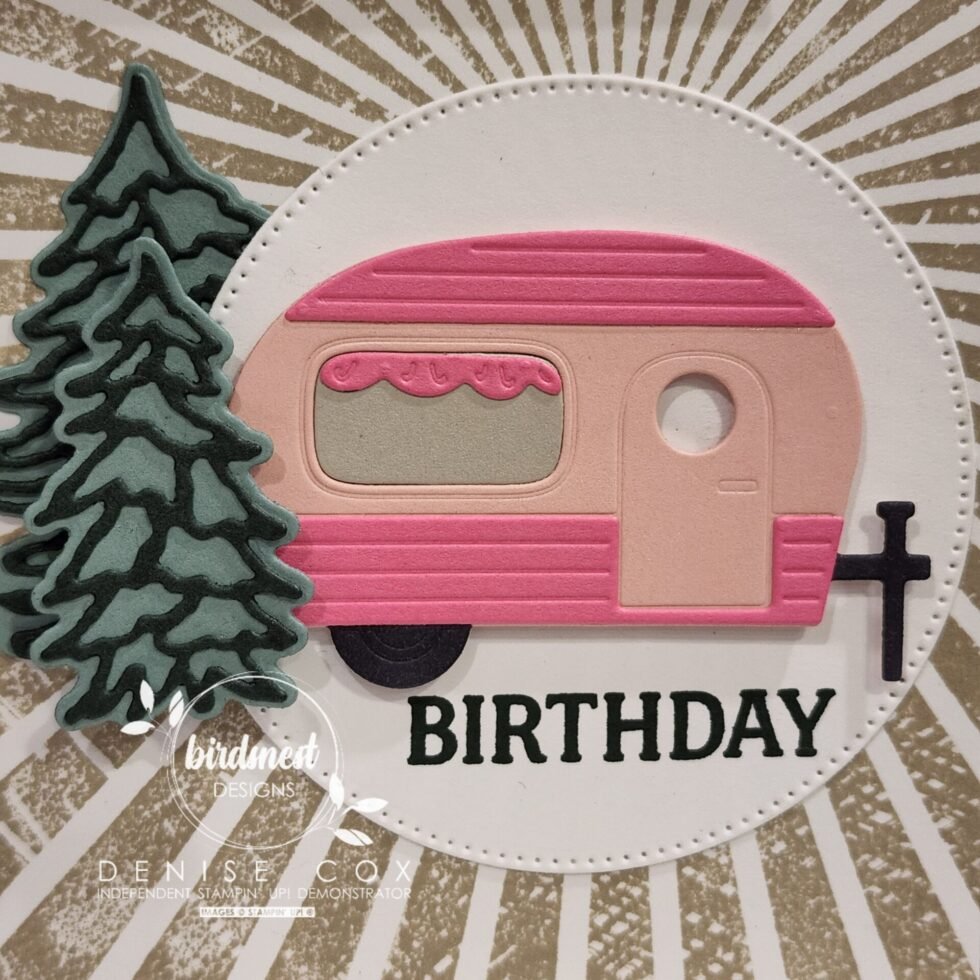
Hello crafty friends and happy Monday! Let’s kick off this week with a great card featuring the Sale-a-Bration exclusive Tree Lot Dies! These dies are super fun and great for making handmade cards for your loved ones. I just can’t get over how fabulous this little trailer is … of course I had to make it in pink to start with!!
These dies were designed to coordinate with the Trees For Sale stamp set from the Jul-Dec Mini Catalogue BUT they are great on their own or with a ton of other stamp sets too!
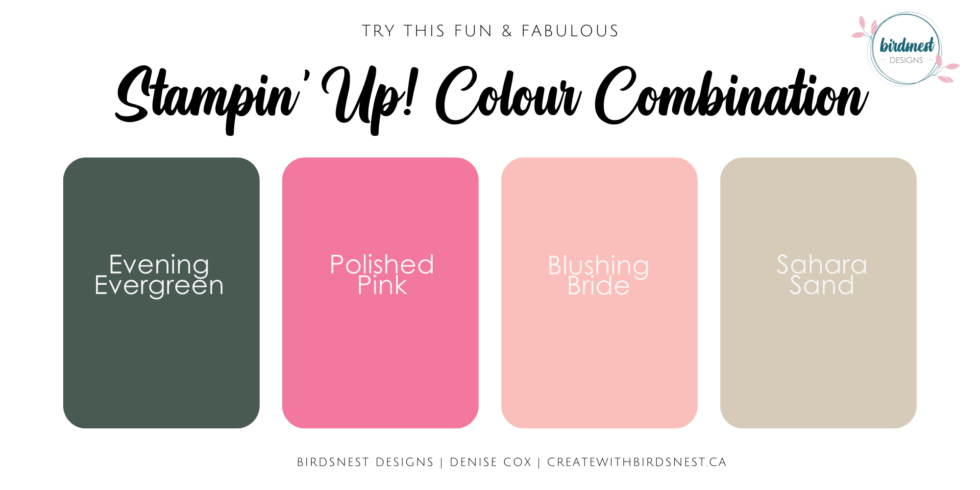
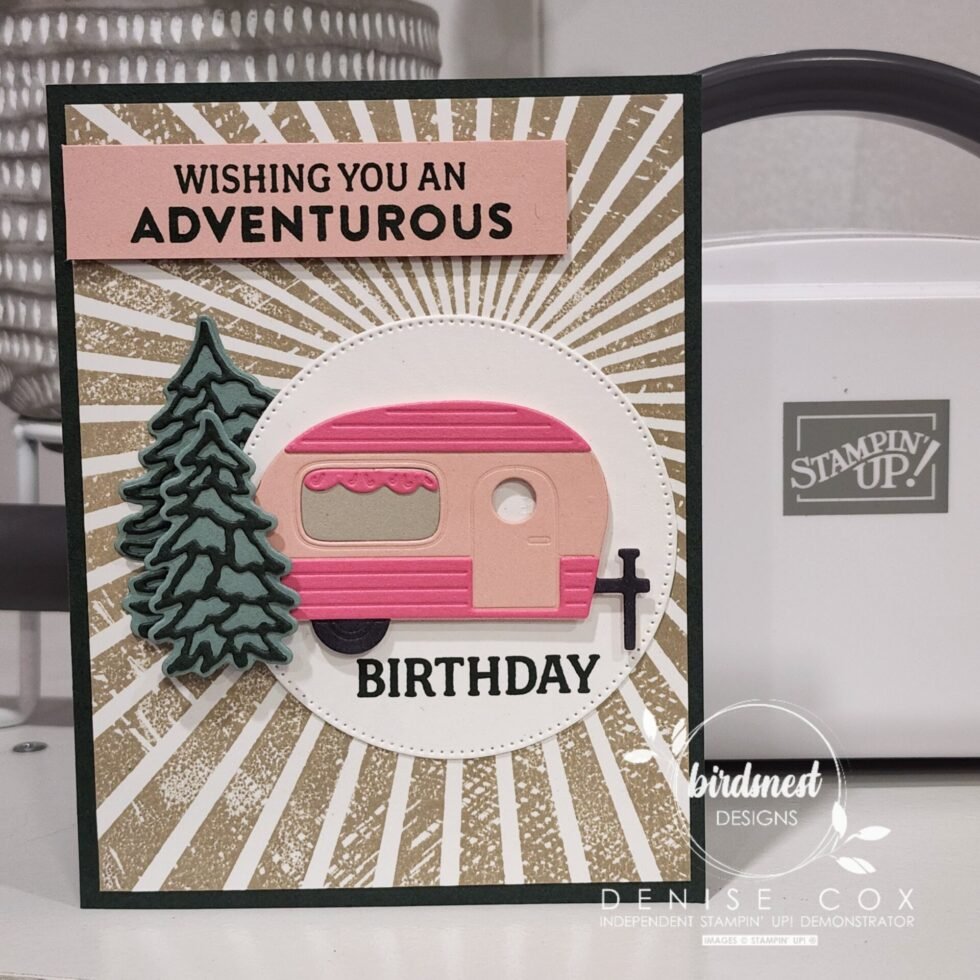
For today’s card I paired the Tree Lot Dies with both the Rays of Light background stamp and Adventurous Journey. Continue scrolling through today’s post to see the full list of products I used, the colour combo I chose and instructions on how you can make this card too!
You can add the Tree Lot Dies to your craftin’ stash for free with a $120 CDN order (before shipping and taxes) during July & August Sale-a-Bration. All sale-a-bration exclusive products are while supplies last so don’t wait too long to place your order!
Thanks for stopping by today … happy stamping!

Let’s Make It!
- Cut an Evening Evergreen card base 8-1/2″ x 5-1/2″ then score on the long edge at 4-1/4″ and fold to create your card
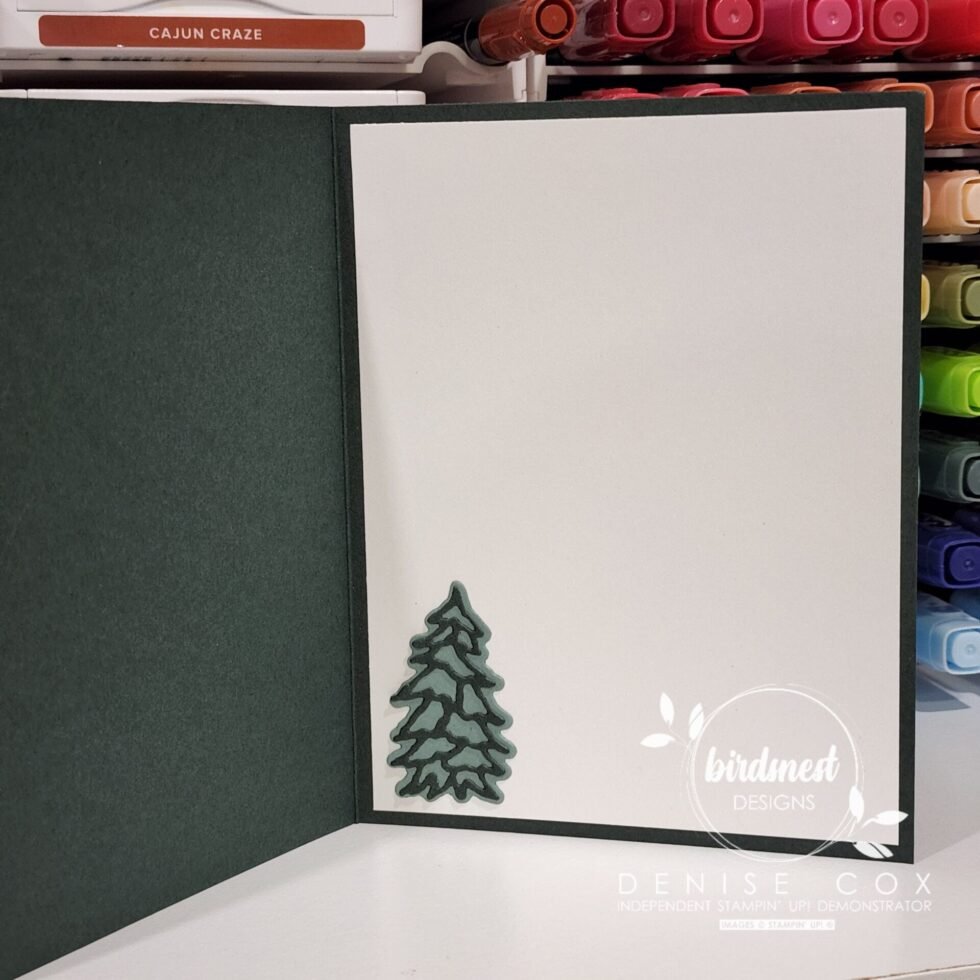
- Cut two pieces of Basic White to 4″ x 5-1/4″, attach one to the inside, right side of your card
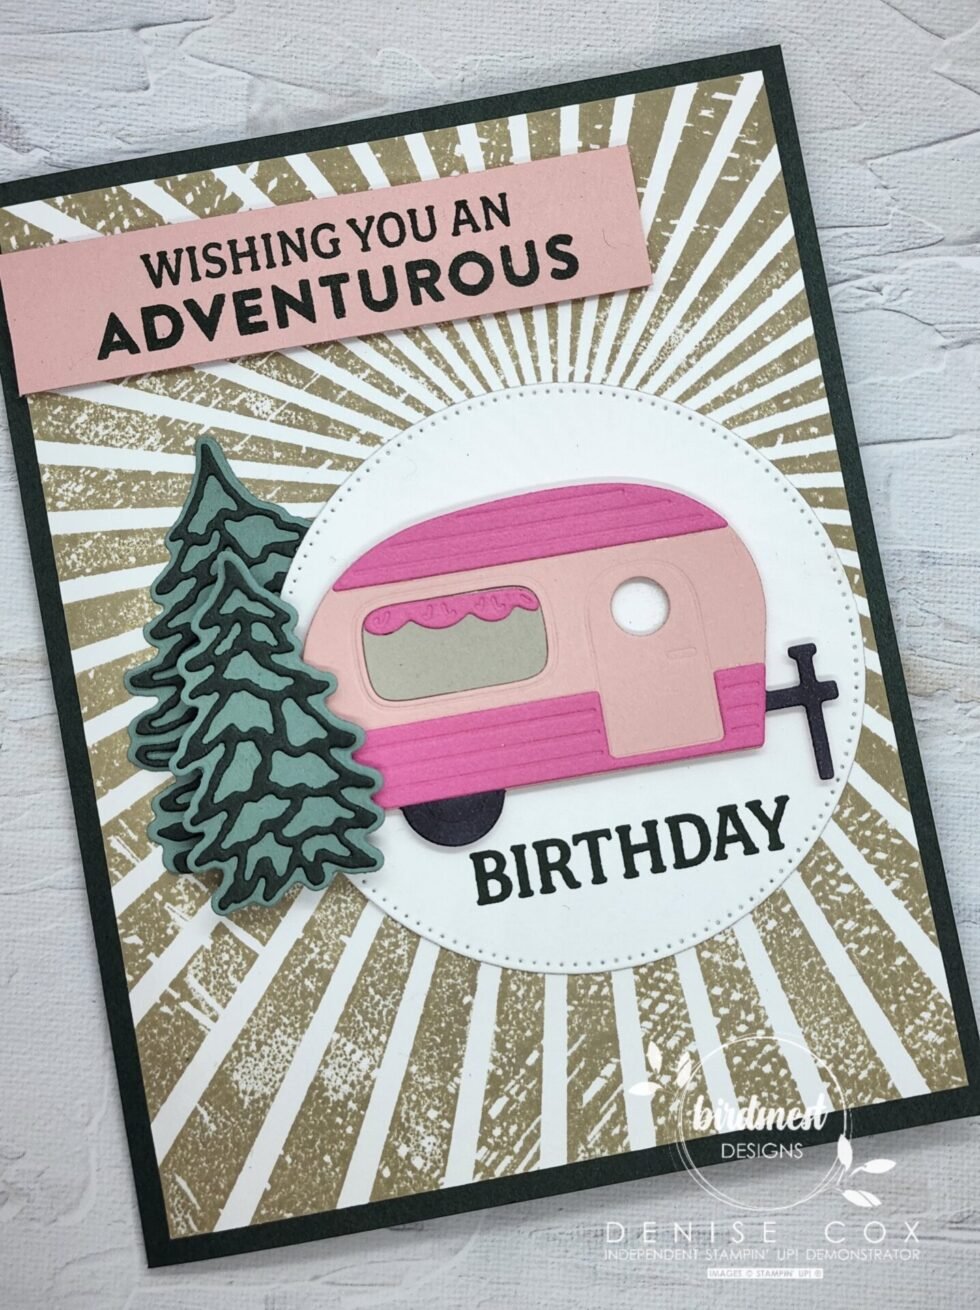
- On the second one, stamp the Rays of Light background stamp using Sahara Sand ink, then adhere to the card front
- Die cut the trailer from the Tree Lot Dies in both Blushing Bride and Sahara Sand, you will just be needing the rectangular window from the Sahara Sand one
- From Polished Pink cardstock, die cut the top and bottom (1 die) trimmings for the trailer along with the scallop window curtains
- Die cut two trees (largest and middle size) using Soft Succulent cardstock for the solid tree and Evening Evergreen for the detailed overlay, then assemble the layers together
- With your dark Basic Black Stampin’ Blends marker, colour the tire and the front hitch of the pink trailer
- Using multipurpose liquid glue, adhere the Polished Pink pieces to the trailer and the curtain to the Sahara Sand window, set aside
- Die cut the largest circle from the Stylish Shapes dies (3″) out of Basic White cardstock
- From the Adventurous Journey stamp set and using Evening Evergreen ink, stamp ‘Birthday’ near the bottom of the die cut circle & ‘Wishing You An Adventurous’ on to a 3/4″ x 3-1/4″ piece of Blushing Bride cardstock
- Adhere the circle to the card front covering the circle left from the Rays of Light stamp and keeping the glue away from the left edge of the circle so you can tuck the larger tree in behind
- Attach the trailer, window, smaller tree and Blushing Bride strip to the card using Stampin’ Dimensionals
- I also added another of the middle size die cut trees to the inside of my card for a little extra fun
Stampin’ Up! goodies I used on today’s card
You can purchase Stampin’ Up! products from my online store from anywhere in Canada, I would love to have you shop with me! Click on any of the items below to see it in my online store ? If you have any questions about ordering or need a little help to place your order please contact me … I am happy to help!


")


Sooooo cute!