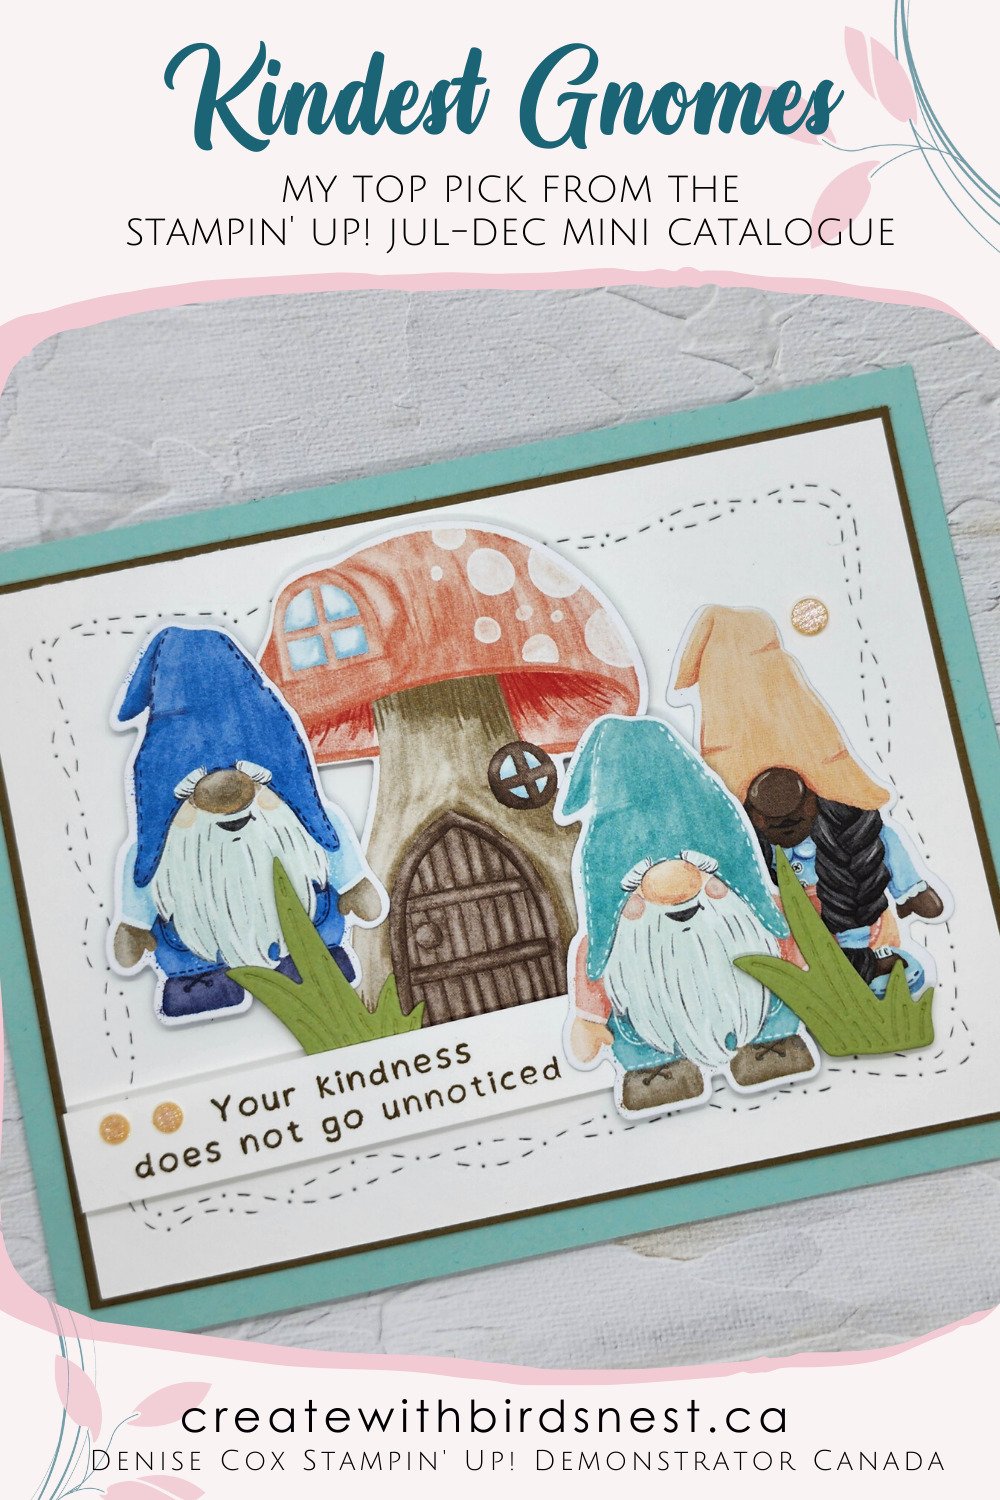
Storybook Gnomes – My Top Pick From The New Mini!
Hello stampin’ friends and welcome to today’s post. To all of my followers from the USA … Happy 4th of July!! We celebrated the Canada Day long weekend enjoying some sun, time with friends and a BBQ. It was a lovely weekend! I even managed to carve out some time to do a little stamping AND set up and prepare my brand-new Stampin’ Up! Planner. As it is Monday it’s time for me to introduce you to my chosen product of the week … Storybook Gnomes Product Suite!
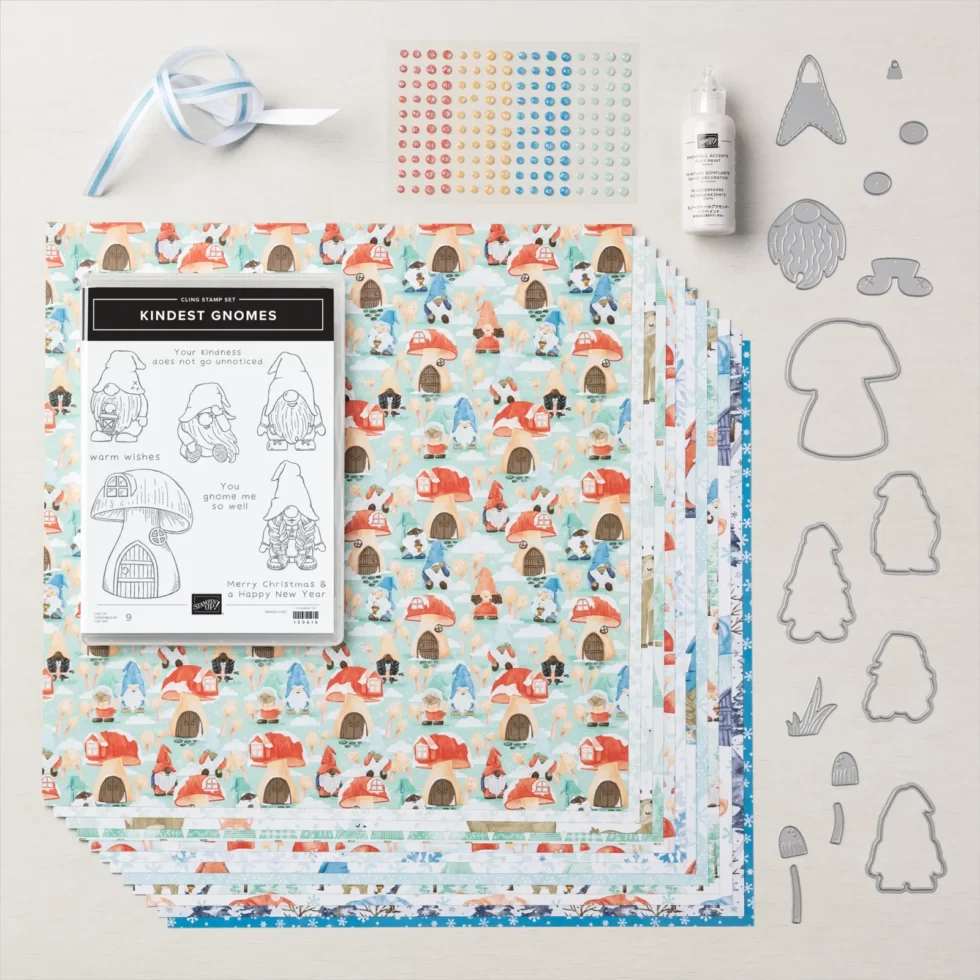
To say that I ❤ love ❤ this suite would be an understatement. This is hands down my top pick from the new July – December Stampin’ Up! Mini Catalogue. Everything about it is awesome. Here in Canada the suite is just $110.75 and includes a collection of these five products:
- Kindest Gnomes Bundle
- Balmy Blue & White 3/8″ Double-Stitched Ribbon
- Fine Sparkle Adhesive-Backed Gems
- Snowfall Accents Puff Paint
- Storybook Gnomes 12″ x 12″ Designer Series Paper
If you are liking the looks of this awesome product suite you can purchase it on my online store from anywhere in Canada. Because I love this bundle so much and want to share it with you …. if you purchase the Kindest Gnomes Bundle or the entire Storybook Gnomes Suite this week (July 4 – 10) I will mail you project kits for the three Kindest Gnomes cards I am sharing here on my blog this week for you to recreate. Click here purchase yours today!
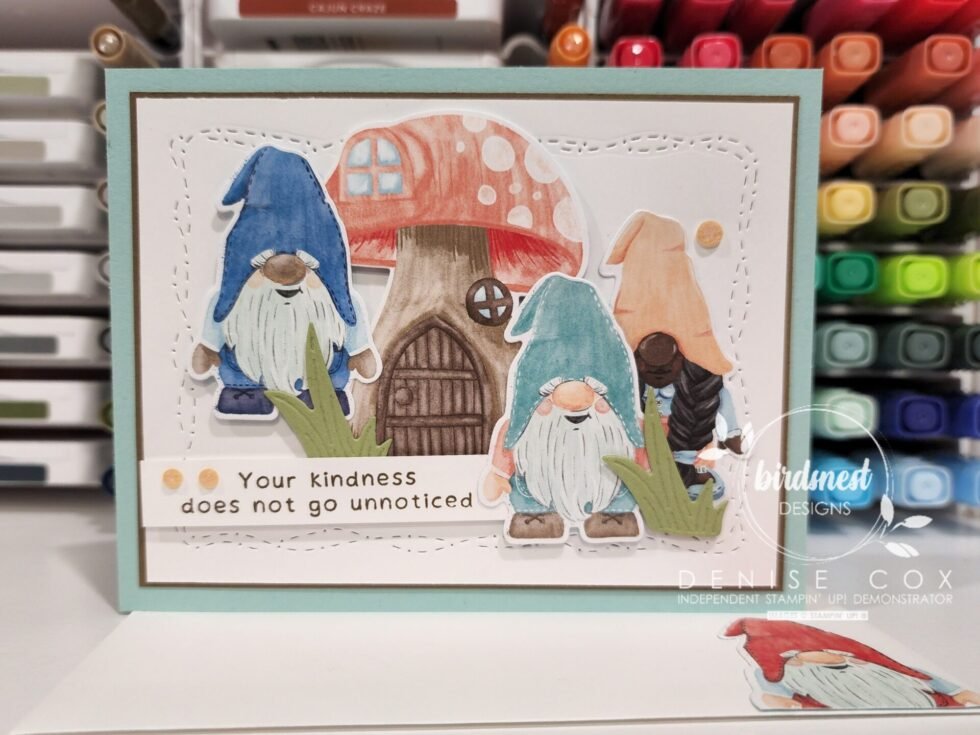
Creating today’s appreciation card was quick, fun & easy!
Let’s Make It!
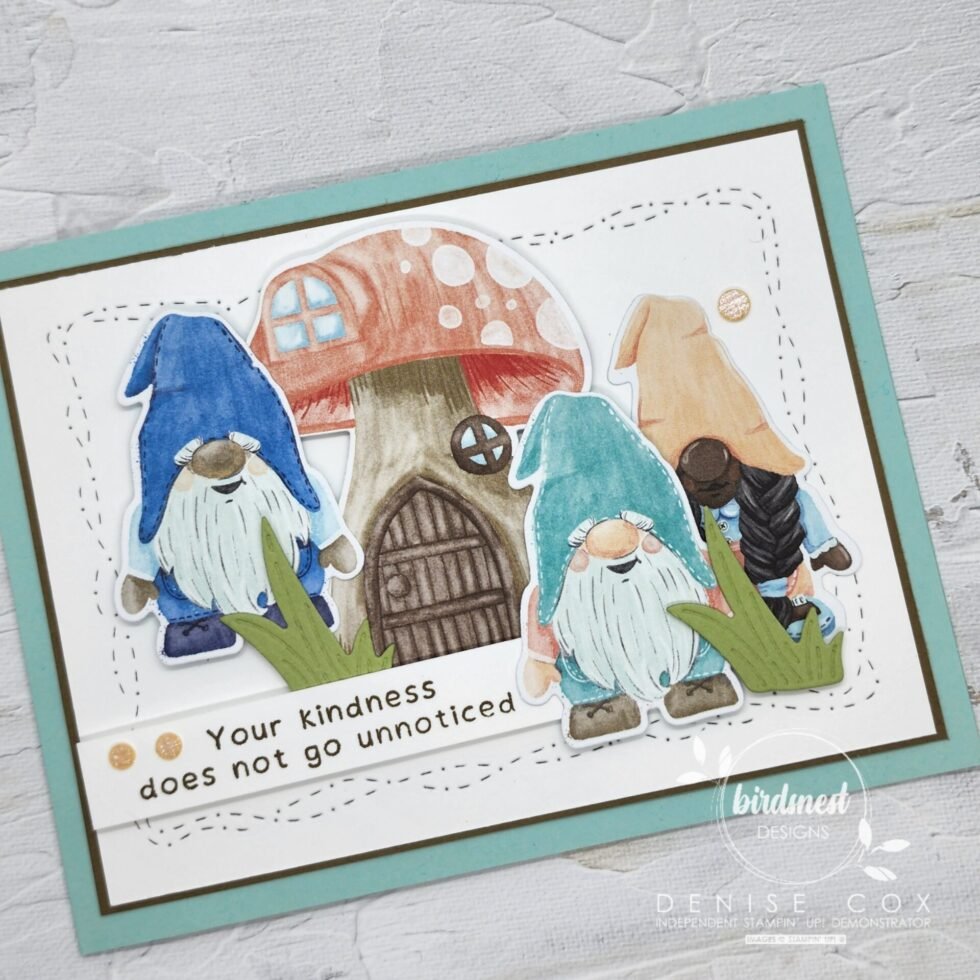
- Start with a Pool Party card base (4/1-4″ x 11″ scored at 5-1/2″) to create a landscape side fold card
- Adhere a Soft Suede panel 3-7/8″ x 5-1/8″ to the center front of the card
- Run a piece of 3-3/4″ x 5″ Basic White cardstock through the Stampin’ Cut & Emboss Machine with the second largest Stitched With Whiimsy dies centered on it
- Adhere this to the Soft Suede cardstock
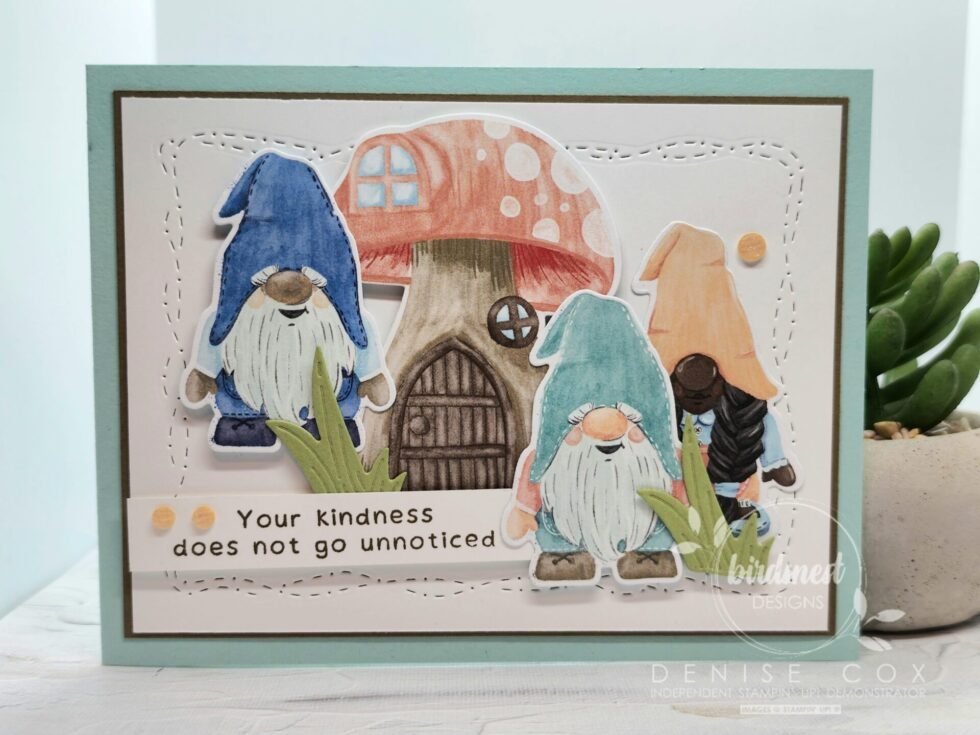
- Using the Storybook Gnomes DSP and the coordinating dies from the Gnomes dies cut out three gnomes of your choice and one mushroom house
- Using Stampin’ Dimensionals, layer the die cut images on to the Basic White cardstock
- Die cut two of the grass dies from Pear Pizzazz cardstock and attach to the card with Mini Stampin’ Dimensionals
- On a 1/2′ strip of Basic White cardstock stamp the sentiment with Soft Suede ink, adhere with Stampin’ Dimensionals tucking the right edge behind the front gnome, trim off any excess
- Complete the card front by adding three of the Pale Papaya Fine Sparkle Adhesive-Backed Gems
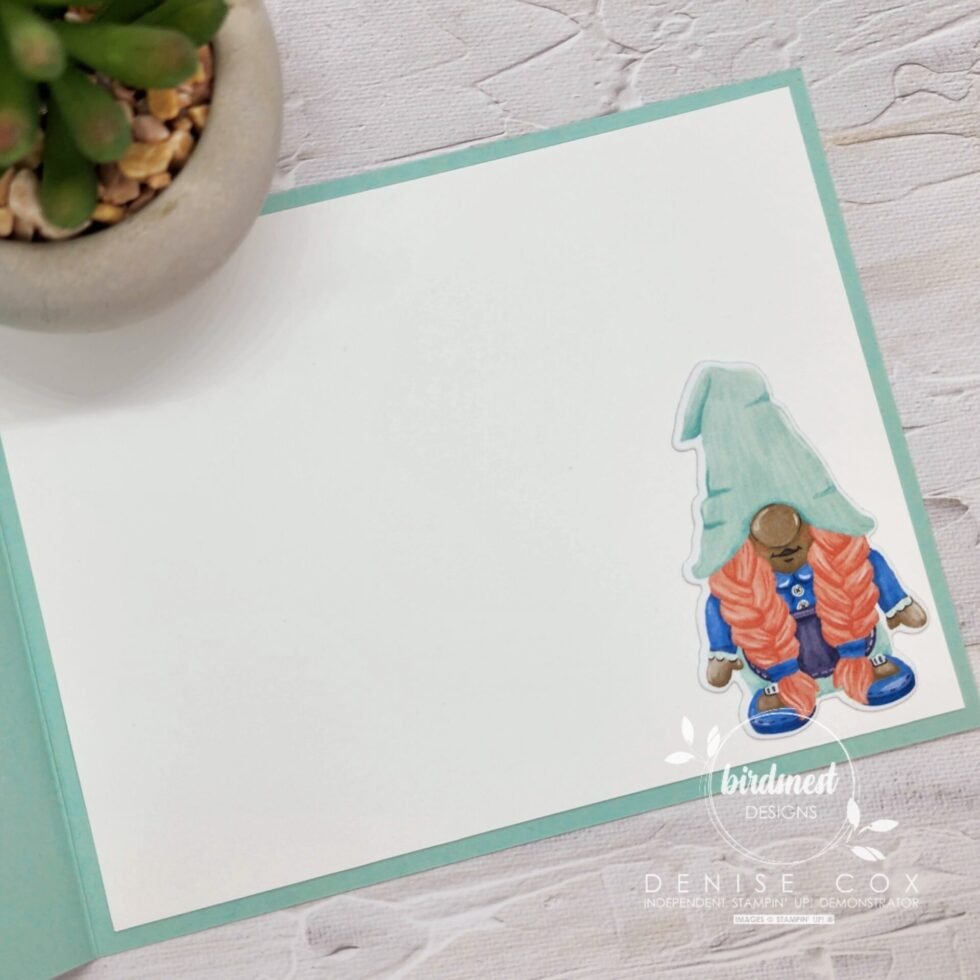
Adding a little something special to the inside of this card was quick & easy too! I simply die cut another one of the sweet girl gnomes and stuck it to the bottom right corner of a Basic White 4″ x 5-1/4″ insert. I attached this to the inside of the card and voila … special touch added! I also spruced up the envelope a little by attaching yet another Storybook Gnome that I die cut to the front of the envelope.
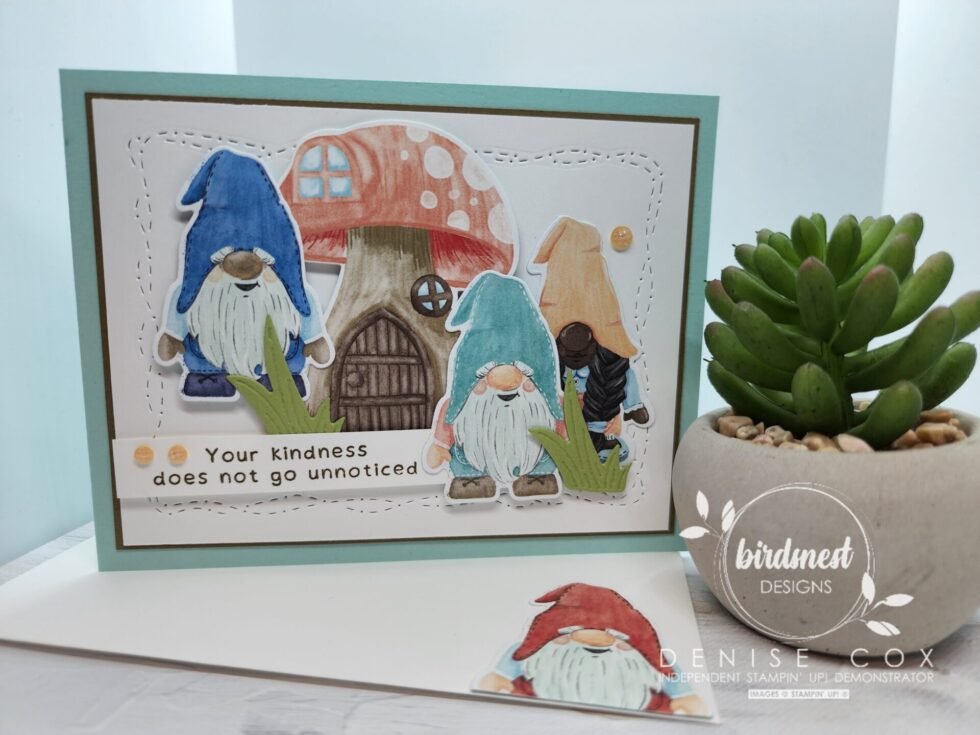
See how simple it was to create this adorable thank you card using the Storybook Gnomes Suite. I am really looking forward to creating and playing with these products all week long. Leave me a comment below if you are also loving these sweet gnomes!
A complete list of all of the products I have used to create this cards is at the bottom of today’s post. Remember that during July & August any order of $60CDN or more qualifies you for FREE sale-a-bration items. There are so many great choices with this promotion … my favourite are the Hippest Hippos that I shared with you last week.
Thank you for stopping by today, it was so nice to see you! I hope that you will join me for a Facebook Live tomorrow, Tuesday July 5th at 5:00pm (PDT) over at Birdsnest Designs.
Happy Monday and I am wishing you a wonderfully creative week!

Storybook Gnomes Thank You Card Product List
")
 Designer Series Paper")


Adorableness overload!!
Thanks Christine!