Rhino Ready Birthday Card

Hello and welcome! Today I am so excited to share a birthday card I created using the Stampin’ Up! Rhino Ready bundle. This adorable bundle is one of the products in the Online Exclusives that launched this month and it is the one I couldn’t wait to get my crafty hands on!

With the Rhino Ready stamp set and coordinating dies it is really fun and easy to create cute projects. The die set provides really great options for creating a fun jungle or safari scene and makes it really simple to cut out the images in the stamp set too! Don’t we all love when a die set is so versatile!

Join me live on Facebook tomorrow evening at 7:00pm (PDT) to see a gorgeous card made with the Rhino Ready dies and those fabulous trees!!
I have provided the instructions and measurements for today’s card in the Let’s Make It section of this post. If you keep scrolling to the end you’ll also see the complete supply list with clickable links to make your online shopping with me super easy and don’t forget – you earn my Customer Loyalty Tokens when you shop online with me❤️.
Thanks for popping in today – Happy Stamping!


Let’s Make It!
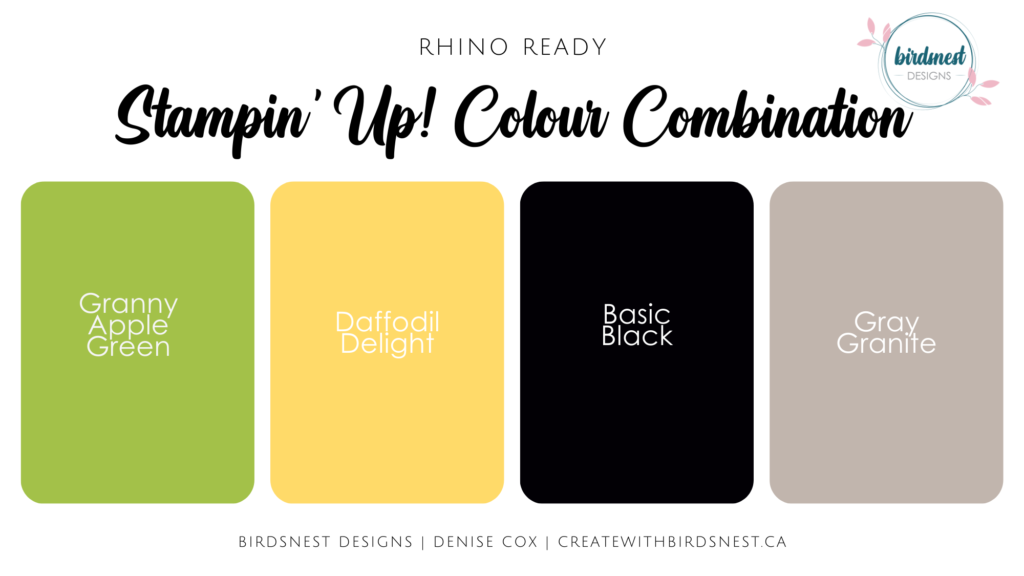
- Start with a Basic Black card base (8-1/2 x 5-1/2 scored at 4-1/4)
- On a 4 x 4-1/2 piece of Daffodil Delight cardstock, stamp the party horn from the Rhino Ready stamp set with Daffodil Delight ink randomly over the entire piece
- Using Tuxedo Black Memento ink, stamp the sentiment and the Rhino on to a 2-1/4 x 4 piece of Basic White cardstock – sentiment on the left and rhino on the left
- Colour the rhino in with Gray Granite Stampin’ Blends and the little birdy with Daffodil Delight
- Adhere the stamped Basic White piece to the Daffodil Delight cardstock about 1/2″ down from the top
- Wrap a piece of Black & White 1/4″ Gingham Ribbon just below the Basic White cardstock and secure in place on the back with tear tape
- Attach the whole piece to the center of the Basic Black card front
- From Granny Apple Green cardstock cut two 1/4 x 3 strips and die cut two tropical leaves using the Rhino Ready dies (one of each size)
- Adhere the strips centered at the top and bottom of the Daffodil Delight cardstock
- Using Mini Stampin’ Dimensionals, adhere the leaves to the leftside of the card just below the ribbon
- Tie a small bow with the Black & White Gingham ribbon and attach it above the leaves with a Mini Glue Dot
- Add three black Classic Matte Dots, one above the bow and two in the lower right corner of the Daffodil Delight cardstock
- Remember to add a little extra love to the inside of the card too! See the photo below to see how stamped the 4 x 5-1/4 piece of Basic White for the card insert


Stampin’ Up! products I used on today’s card
You can purchase Stampin’ Up! products from my online store from anywhere in Canada, I would love to have you shop with me! To see more details of any of the products in this list just click on the image!
Earn customer loyalty tokens for each $10 increment of your online order … collect and redeem for free Stampin’ Up! product!! If you have any questions about ordering or need a little help to place your order please contact me … I am happy to help!
")

 Gingham Ribbon")


