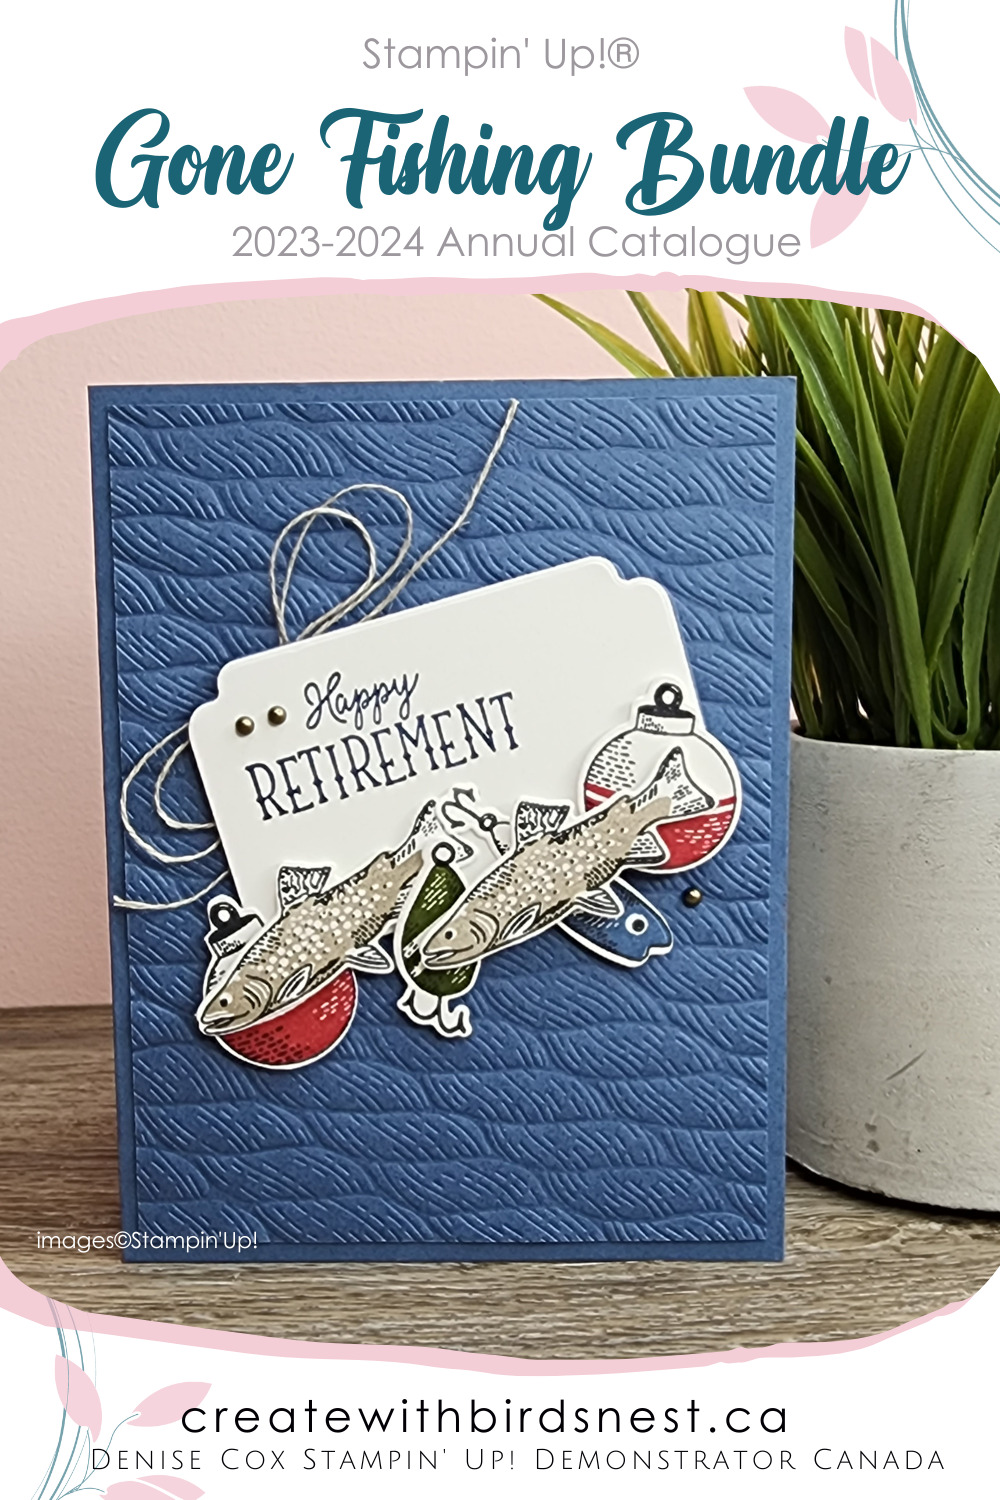
Hello .. It is nice to see you! Today wraps up the week long share of the Stampin’ Up! Gone Fishing Bundle. My final card of the week is a really great retirement card that would be perfect for the fishing enthusiasts in your life.

The Let’s Go Fishing Suite Collection from the Stampin’ Up! Annual Catalogue is definitely a must-have in my books. It makes for some really amazing masculine cards, fishing scrapbook layouts, and all around fun fishing themed cards! If you would like to add this fabulous suite to your craft-stash you can find it by clicking HERE and visiting my online store.
I have provided the instructions and measurements for today’s card in the Let’s Make It section of today’s post. If you keep scrolling to the end you’ll also see the complete supply list with clickable links to make your online shopping super easy ❤️.
Thanks for popping in, have a wonderful weekend and Happy Stamping!


Let’s Make the gone fishing retirement card!
- Start with a Misty Moonlight card base 8-1/2 x 5-1/2 scored at 4-1/4
- Emboss a 4 x 5-1/4 piece of Misty Moonlight cardstock using the Twisted Rope 3D Embossing Folder and attach to the front of the card base
- From a piece of Basic White cardstock die cut the label using the Something Fancy dies
- Stamp ‘Happy Retirement’ from the Gone Fishing stamp set in the top left corner of the die cut label with Night of Navy ink
- Holding two long strands of Linen Thread together, tie a large loopy bow
- Adhere the Linen Thread bow to the back of the stamped label using a Mini Glue Dot
- Adhere the label to the card front using Stampin’ Dimensionals
- Using Tuxedo Black Memento ink on Basic White cardstock stamp two fish, two bobbers, and one of each lure … all of these are the outline images
- For the two-step stamping second layer (solid, fill-in images) use Gray Granite for the fish, Real Red for the bobbers, Mossy Meadow for tear drop shaped lure and Misty Moonlight for the fish shaped lure
- Die cut all six stamped images using the coordinating Gone Fishing dies and the Mini Stampin’ Cut & Emboss Machine
- Adhere all six of the die cut images along the bottom of the Basic White label on the card front adhering them all with Stampin’ Dimensionals
- To complete the card front add two Rustic Metallic Dots to the left of “Happy” and one below the images on the right
- Remember to show a little love to the inside of your card by stamping something on a 4 x 5-1/4 Basic White insert – See photo below for how I stamped mine ????


Stampin’ Up! products I used on today’s card
You can purchase Stampin’ Up! products from my online store from anywhere in Canada. If you are currently looking for a Stampin’ Up! Demonstrator, I would love to have you shop with me! To see more details of any of the products in this list just click on the image below!
Earn customer loyalty tokens for each $10 increment of your online order … collect and redeem for free Stampin’ Up! product!! If you have any questions about ordering or need a little help to place your order please contact me … I am happy to help!
")


Great colours! Great stamp set! A really great retirement card!